
A Stunning DIY Garden Upgrade
Easy Brick Herringbone Path: Transform Your Garden with Recycled Bricks!

Learn how to lay a brick herringbone path using recycled red bricks. A sustainable and charming DIY garden project awaits!
Table of Contents
How to Lay a Herringbone Brick Garden Path – A Complete DIY Workshop
By Arthur’s Workshop
There’s something timeless about a brick path. Whether it leads to a shed, greenhouse or the back door, a well-built herringbone path looks attractive, lasts for decades and, unlike concrete, can usually be repaired one brick at a time.
The secret isn’t the herringbone pattern.
The secret is everything underneath it.
If the base is poor, even the most beautifully laid bricks will begin to sink, rock and spread apart within a few years.
Let’s build one properly.
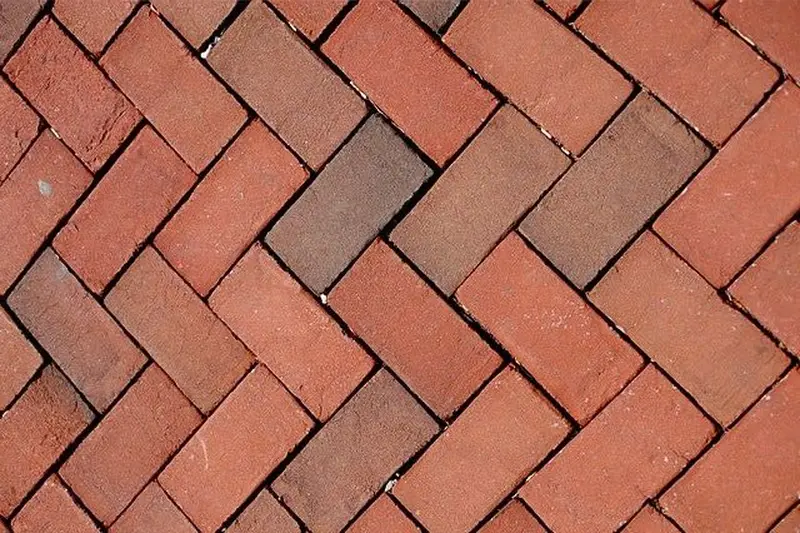
Why Choose Herringbone?
There are many brick patterns, but herringbone has one enormous advantage.
Each brick locks into the next.
Instead of long straight joints that can move apart, the bricks support one another from several directions, making herringbone one of the strongest paving patterns available.
For paths that receive regular foot traffic—or even the occasional wheelbarrow—it’s hard to beat.
Step 1 – Planning the Path
Before digging anything, decide:
- Where will the path start and finish?
- How wide should it be?
- Will it have curves or be perfectly straight?
A comfortable garden path is usually between 600 mm and 900 mm wide.
If two people will walk together, consider 1 metre.
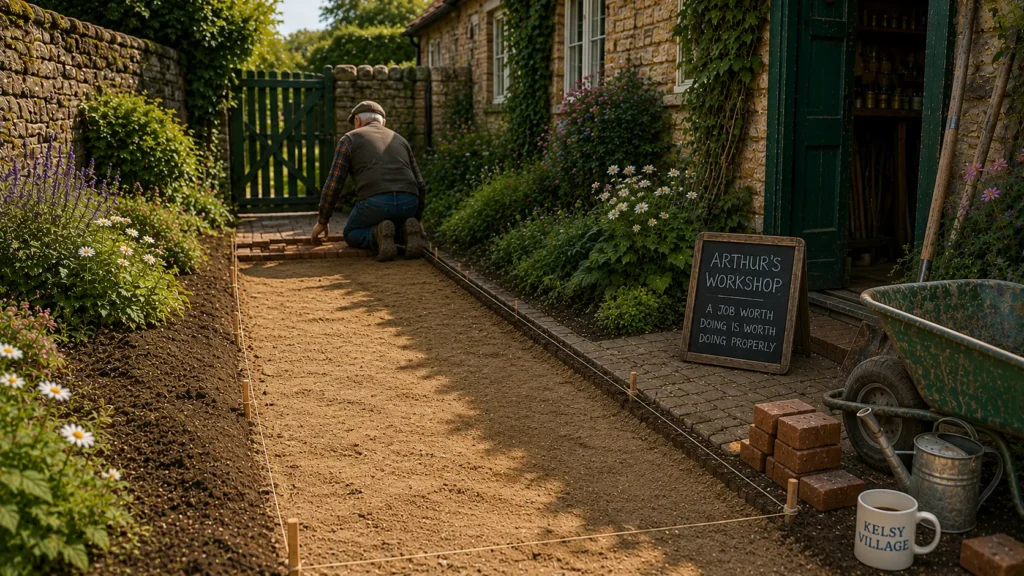
Stretch a string line between wooden pegs.
Stand back and look at it from different angles.
It’s much easier to move a string than rebuild a path.
Arthur’s Workshop Tips
“Don’t worry if your first few bricks seem painfully slow. Every herringbone path I’ve ever laid has started like that. Once the pattern establishes itself, you’ll be surprised how quickly it grows.”
“People often spend hours choosing the perfect bricks, then rush the foundation. I’d rather use ordinary reclaimed bricks on a good base than expensive new bricks on a poor one.”
Step 2 – Excavating the Ground
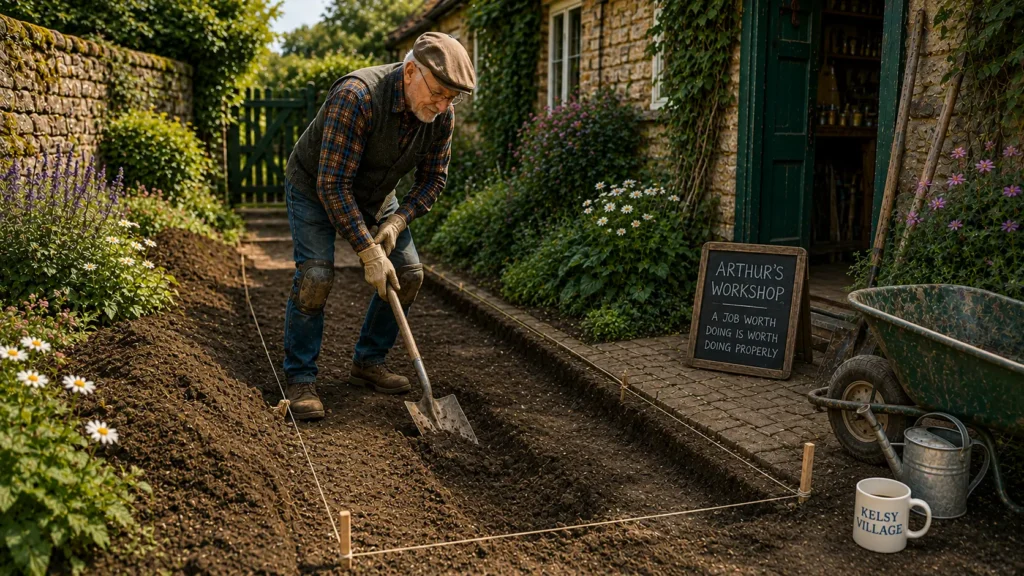
Most beginners don’t dig deeply enough.
Remove all:
- Grass
- Roots
- Loose soil
- Organic material
Continue until you reach firm ground.
For an ordinary garden path, you’ll normally need around 150–200 mm below the finished surface.
That depth allows room for:
- Sub-base
- Bedding layer
- Brick thickness
Don’t worry if the excavation isn’t perfectly smooth.
It simply needs to be reasonably level.
Step 3 – Creating the Sub-base
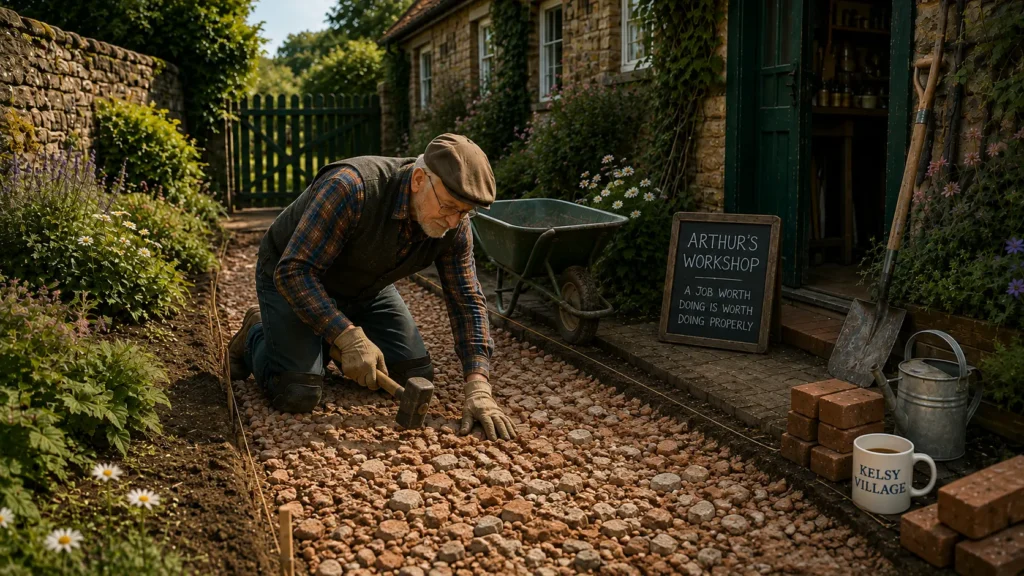
This is where the strength comes from.
Fill the excavation with crushed stone or road base.
Don’t throw it all in at once.
Build it in layers of about 50 mm.
Compact each layer thoroughly before adding the next.
A vibrating plate compactor is ideal, but for very small paths a heavy hand tamper will do.
Poor compaction is the main reason paths settle unevenly later.
Take your time.
Step 4 – Check Drainage
A path should never become a shallow swimming pool.
Create a gentle fall of approximately 1 in 60 away from buildings.
This is almost invisible to the eye but allows rainwater to drain away naturally.
Step 5 – Install Edge Restraints
The edge of the path keeps everything locked together.
Without edge restraints, bricks slowly creep sideways.
Suitable edging includes:
- Concrete kerbs
- Brick-on-edge borders
- Timber edging
- Steel garden edging
Don’t leave this until the end.
The edging is your guide for laying the bricks.
Step 6 – Add the Bedding Layer
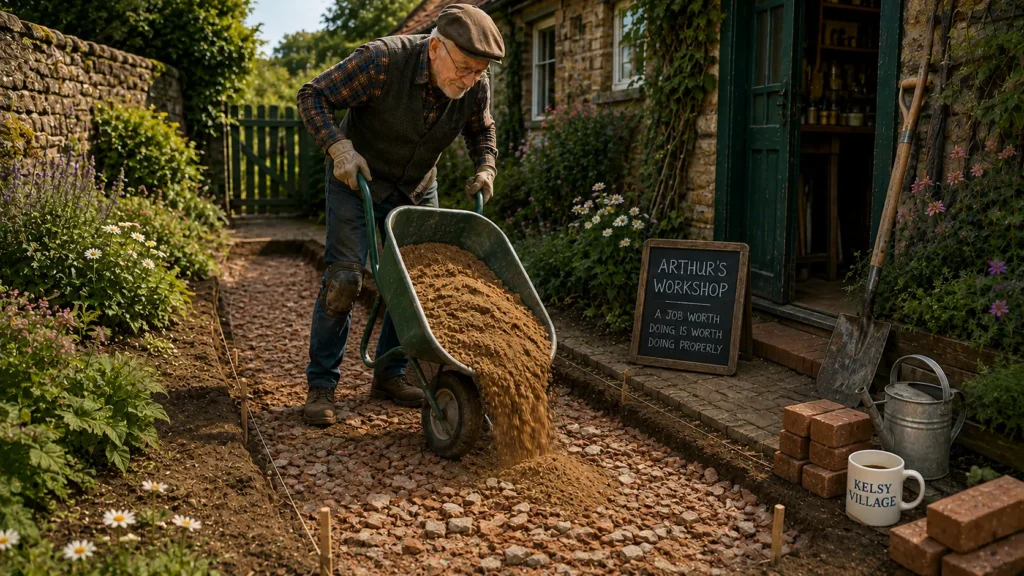
Spread approximately 30–40 mm of sharp sand.
Use two straight guide rails or pipes.
Drag a straight board across them.
This produces a perfectly level bedding layer.
Avoid walking on the prepared sand afterwards.
If you disturb it, level it again before laying bricks.
Step 7 – Choosing Bricks
Not every brick belongs outdoors.
Soft house bricks absorb water and often crack during freezing weather.
Choose paving bricks or engineering bricks designed for ground use.
If you’re using reclaimed bricks:
- Remove old mortar.
- Discard badly cracked bricks.
- Sort them by colour if appearance matters.
Mix bricks from several stacks while laying.
This prevents obvious patches of different shades.
Step 8 – Starting the Pattern
Choose the straightest edge.
The first few bricks determine the whole path.
Take time here.
Lay the first bricks carefully, checking alignment frequently.
Once the pattern begins correctly, it almost builds itself.
Step 9 – Laying the Herringbone Pattern
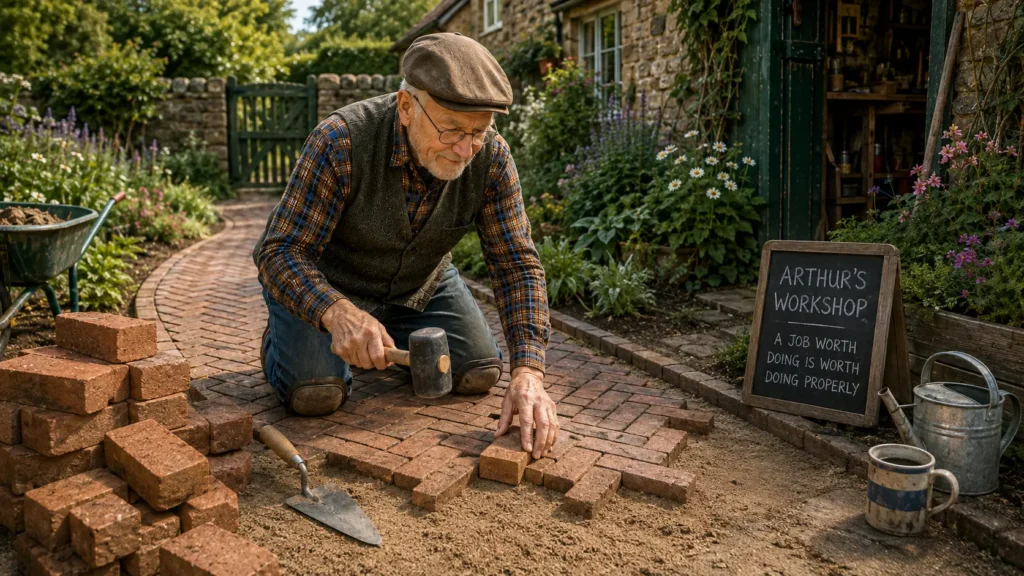
Each brick sits at approximately 45° or 90° to its neighbours.
Place each brick gently.
Don’t hammer it into place.
If necessary, tap lightly with a rubber mallet.
Keep checking:
- Alignment
- Joint spacing
- Overall straightness
Small errors become large ones surprisingly quickly.
Step 10 – Cutting the Edge Bricks
The edges almost always require cutting.
A brick saw gives the cleanest finish.
For occasional jobs, a bolster chisel and club hammer will do.
Wear eye protection.
Brick fragments travel surprisingly fast.
Step 11 – Filling the Joints

When the bricks are complete, spread dry kiln-dried sand over the surface.
Sweep it backwards and forwards until every joint is full.
If available, run a vibrating plate compactor fitted with a rubber mat across the surface.
Sweep more sand into the joints afterwards.
The joints should remain completely full.
Step 12 – Final Inspection

Walk the entire path.
Check for:
- Rocking bricks
- Low spots
- Gaps
- Loose edging
Fix any problems immediately.
Five minutes now may save rebuilding part of the path next year.
Arthur’s Workshop Tips
✔ Buy around 10% more bricks than you calculate.
✔ Always mix bricks from several packs.
✔ Don’t rush the foundation.
✔ Keep checking your string line.
✔ Avoid laying bricks during heavy rain.
✔ If a brick doesn’t fit, don’t force it—lift it and find out why.
Final Thoughts
Many first-time DIY builders think the herringbone pattern is the difficult part.
It isn’t.
The pattern is simply the finishing touch.
A long-lasting path is built from the ground upwards: solid excavation, well-compacted sub-base, level bedding, firm edge restraints and careful brick laying.
Get those stages right, and the herringbone pattern becomes the easy part.