
Making a Foam Generator
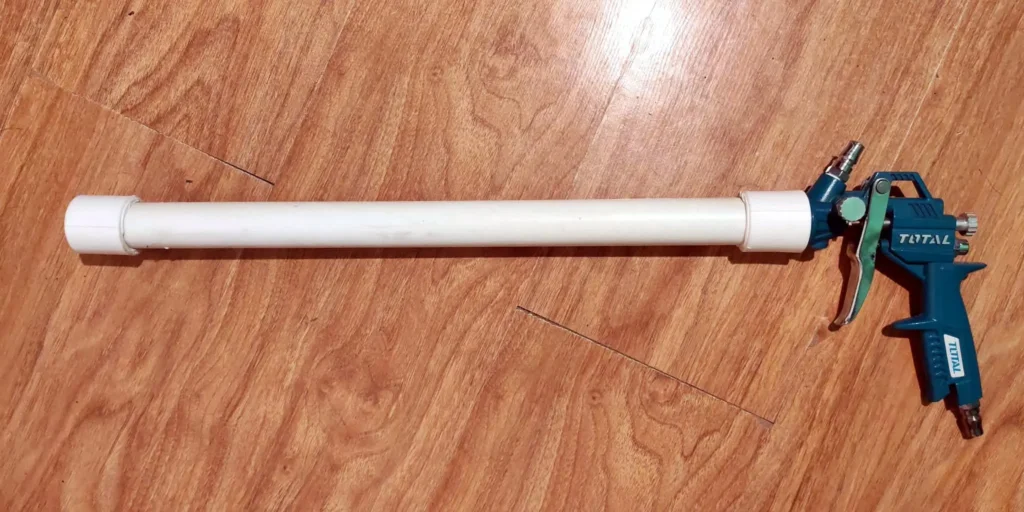
Table of Contents
There is nothing particularly mysterious about a foam generator.
Its job is simply to produce a large quantity of small, stable bubbles by combining three things:
water + foaming agent + compressed air
The reason for making the foam separately is control. Instead of relying on the mixing paddle to create all the bubbles inside the cement, we can make a consistent foam first and then introduce it into the cement slurry.
For small experiments, the modified mixer described in Chapter 2 is perfectly adequate. But if you’re making larger quantities of aircrete, a foam generator becomes much more attractive.
And the good news for the DIY builder is that you don’t need an expensive piece of industrial equipment.
You can make one yourself.
What does a foam generator actually do?
At its simplest, a foam generator is a device through which a mixture of water and detergent is forced through a restricted passage while compressed air is introduced.
The result is foam.
That’s really all there is to it.
The clever part is arranging the water, detergent and air so that the device produces lots of small bubbles rather than a stream of watery detergent with a few bubbles in it.
The quality of the foam matters.
We want foam that is reasonably dense and stable, because those bubbles are eventually going to become the air spaces inside our aircrete.
The three things we need
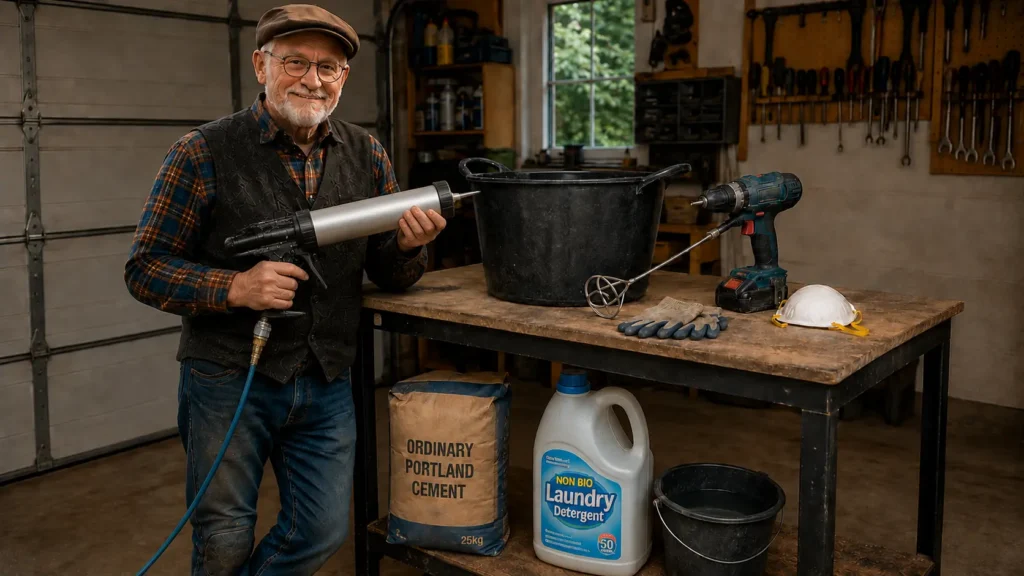
A DIY foam generator needs three basic supplies.
1. Water
The water carries the foaming agent through the generator.
Ordinary tap water is perfectly adequate. There is no need to complicate things with specially treated water.
2. Foaming agent
This is where our earlier experimentation becomes important.
Not all detergents produce the same foam.
I’ve had particularly good results with cheap shampoo. That may seem an unlikely choice, but shampoo is designed to produce a rich lather, and that’s precisely what we’re looking for.
Washing-up liquid can certainly produce foam, but in my experience it doesn’t necessarily produce the same rich foam as a suitable shampoo.
The important thing is not whether the bottle says shampoo, washing-up liquid or anything else.
Make some foam and look at it.
A good foaming agent should produce a dense, creamy foam that doesn’t immediately collapse back into liquid.
3. Compressed air
This is the part that prevents a foam generator from being quite as simple as the scouring-pad mixer.
You need a source of compressed air.
A normal workshop air compressor is perfectly suitable, provided it can supply the required air continuously. The generator doesn’t need an enormous pressure; what matters is having a reasonably consistent supply.
The compressed air is what turns the detergent solution into foam.
Without it, we’ve simply built a rather complicated detergent dispenser.
My DIY foam generator
The foam generator I use was made from ordinary plastic water pipe and a collection of standard plumbing connectors.
There’s nothing particularly exotic about the construction.
The finished device is surprisingly small — approximately the size of a mastic gun — yet it can produce a considerable quantity of foam.
The small size is one of the things I particularly like about it.
You don’t need a large machine sitting in the workshop. The generator can be connected to its water supply and compressor when required and put away afterwards.
The important thing isn’t the external appearance of the device, though.
It’s what happens inside it.
Controlling the detergent
One of the important differences between a homemade foam generator and simply blowing air through a bucket of detergent is that we can control the amount of detergent being introduced into the water.
Too little detergent and the foam will be weak and unstable.
Too much isn’t necessarily better either.
We’re looking for the point at which the generator produces the best foam, rather than simply the greatest quantity of bubbles.
This is where a little experimentation pays off.
The particular detergent you’re using, the concentration, the water flow and the air supply all affect the result.
That’s why I wouldn’t regard a particular detergent ratio as some sort of magic recipe.
The foam itself is the test.
If it comes out thin and watery, something needs adjusting.
If it produces a rich, stable foam, you’re heading in the right direction.
Water and air need to be controlled
The generator needs both a reasonably controlled water supply and a reasonably controlled air supply.
That allows us to adjust the character of the foam.
Increase the amount of liquid relative to the air and the foam becomes wetter and less dense.
Increase the air contribution and the foam becomes lighter.
But again, the objective isn’t simply to produce the lightest possible foam.
We want a stable foam suitable for making aircrete.
The foam will eventually be mixed into cement, so it needs to survive that process long enough to distribute itself throughout the slurry.
Don’t confuse foam density with aircrete density
This is worth making clear.
When we talk about foam density, we’re talking about the density of the foam coming out of the generator.
When we talk about aircrete density, we’re talking about the density of the finished cementitious material.
They are related, but they aren’t the same thing.
The aircrete density ultimately depends on how much foam we incorporate into a given amount of cement slurry, as well as the characteristics of that foam.
So a foam generator isn’t a machine that simply produces “light aircrete.”
It produces foam.
We then use that foam to determine how much air is incorporated into our cement.
The surprisingly useful little machine
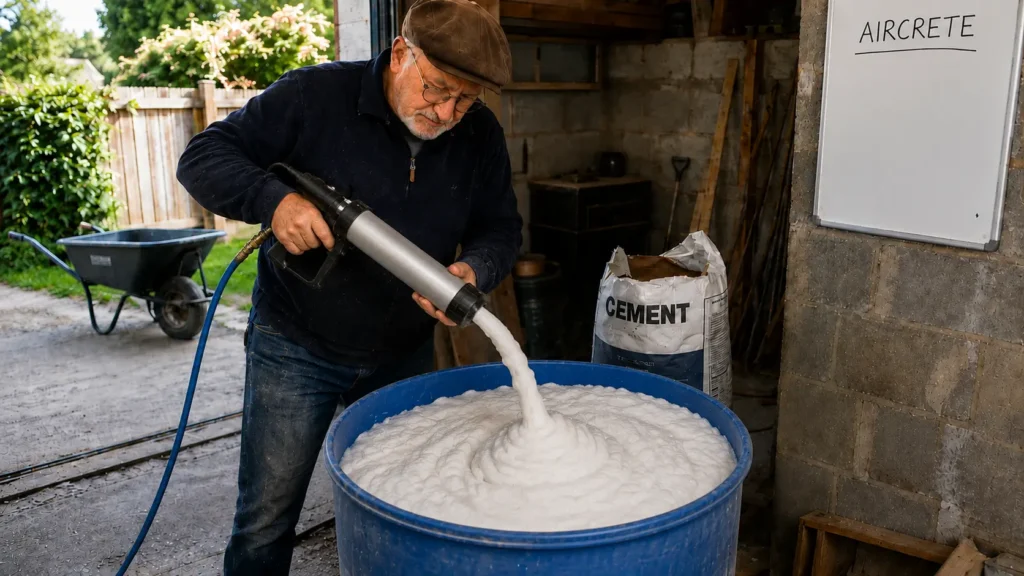
The beauty of the homemade generator is that it doesn’t really look like an important piece of equipment.
It’s a few bits of pipe and fittings, connected to water, detergent and compressed air.
Yet it gives us something that is extremely useful when making aircrete:
repeatability.
Once we’ve found a combination of detergent concentration, water flow and air supply that produces the foam we want, we can reproduce that foam from one batch to the next.
And that means we can start experimenting properly.
We can make aircrete at different densities and see what actually happens to the finished material.
That’s much more useful than simply accepting somebody else’s recipe from the internet.
One final thought
You don’t need a foam generator to make aircrete.
That’s important.
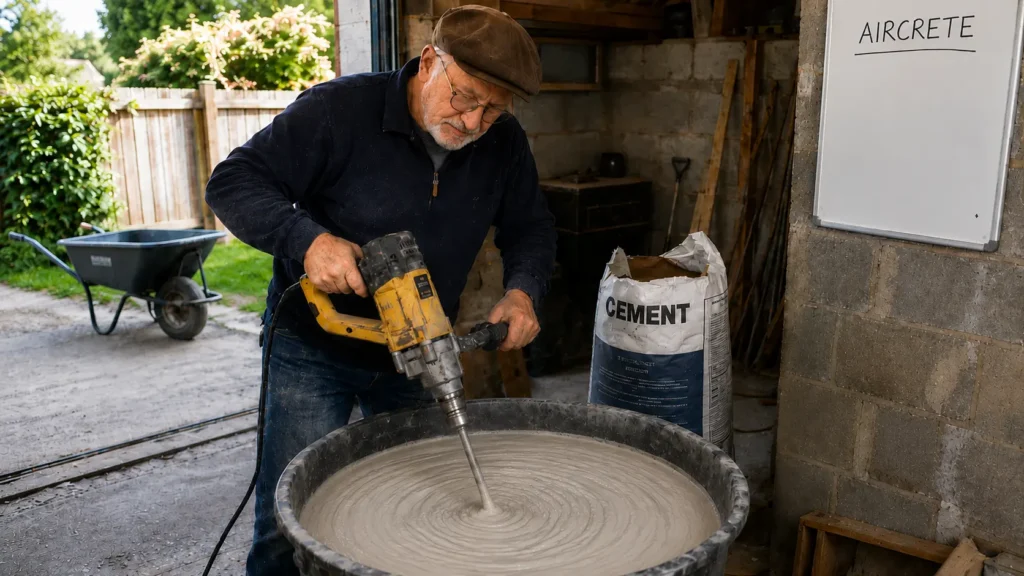
The modified mixer from Chapter 2 can produce perfectly usable aircrete for small-scale work.
The foam generator simply gives us more control and a more repeatable process, particularly when we’re making larger quantities.
So if you’ve got a drill, a mixing paddle and a couple of stainless-steel kitchen scourers, you can start experimenting.
If you’ve also got a compressor and fancy building a little plumbing contraption, you can take it a step further.
And that’s exactly what we’ll do next.
Next: Chapter 4 — Getting the Density Right
We’ve now got our materials and we’ve got two ways of making the foam.
The next question is the one that really matters:
How much foam should we put into the cement?
Because that single decision has a huge effect on what comes out of the mould.
And that’s where we’ll start weighing things, comparing mixtures and finding out just how light we can make our aircrete without turning it into something that falls apart when Arthur picks it up.