
Replacing old wooden windows with modern, energy-efficient PVC double-glazed windows is a great way to improve your home’s insulation and reduce energy costs. However, when the reclaimed PVC double-glazed window you’re installing is taller than the original wooden one, additional considerations need to be taken into account. Should you adjust the window height by modifying the existing window frame, or is it better to lower the window sill to accommodate the taller window? This article is concerned with replacing an old wooden window with a reclaimed PVC double-glazed window while addressing the challenges that come with dealing with a height mismatch.
Table of Contents
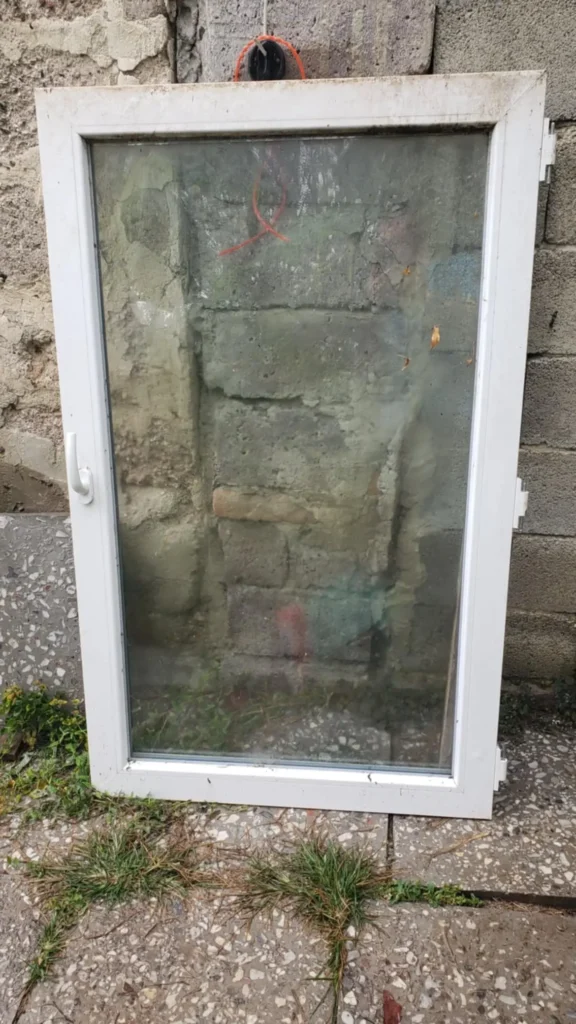
In my case, I had a window to hand which I had bought for another house but later had to remove because of other changes to the house. The problems which arose were due to the fact that if I were to mount the replacement window on the original window cutout in the brickwork, the top of the window would come right to the ceiling inside the house which meant that it could even interfere with the ceiling.
If I were to lower the window sill and leave the head in place, then the sill would be at an uncomfortably low level. It appeared that the answer was to remove material from above and below. The ceiling was not compromisedand the sill was lowered but not uncomfortably so. In fact, the window height internally lined up with the top of the two doors to the kitchen, so this became the answer.
Why Replace Wooden Windows?
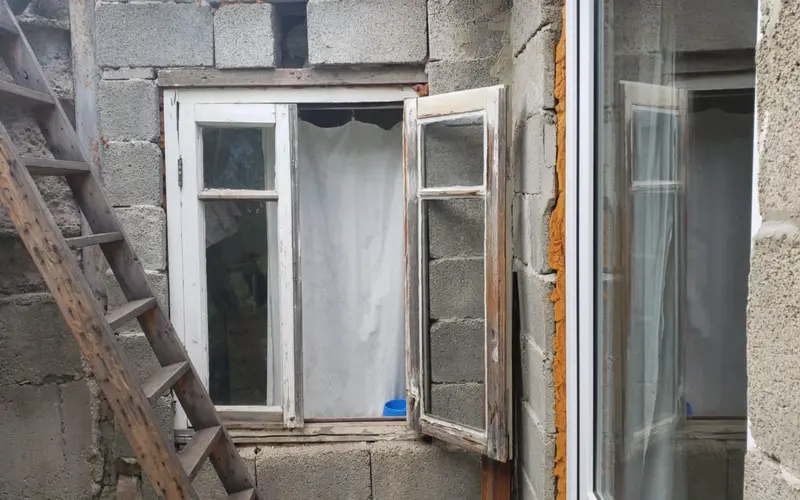
Old wooden windows can add charm and character to a home, but not when they become distorted, rotten or stick badly. They tend to have significant downsides as they age:
- Energy inefficiency: Older windows, especially single-glazed wooden ones, can lead to heat loss and higher energy bills.
- Drafts and leaks: Over time, wooden frames can warp, crack, or deteriorate, causing drafts and moisture issues.
- Maintenance: Wooden windows require regular maintenance such as sanding, painting, and sealing to prevent rot.
- Rotting Wood: If the window is already rotting, there is little to be done as repairs may be costly or impractical.
PVC double-glazed windows, on the other hand, offer excellent thermal insulation, are more durable, and require far less maintenance. Reclaimed PVC double-glazed windows are also an eco-friendly and budget-friendly option, giving you the best of both worlds.
Replacing the Window With the reclaimed PVC Double-Glazed Window
Step 1: Planning and Measuring
The first and most crucial step is to measure your old wooden window frame and compare it with the dimensions of the reclaimed PVC double-glazed window you want to install. If the width of the windows is the same but the new PVC double-glazed window is taller, you’ll need to figure out how to manage the excess height. This is often more difficult than a width problem. Brickwork at the side of the window can be more easily removed or built up. You may need to consider whether a lower sill or a higher window head will look out of place.
Considerations for Height Adjustment:
- Excess Window Height: You can deal with the extra height by modifying either the top of the window frame or the window sill.
- Lowering the Window Sill: In some cases, lowering the window sill is a practical solution that keeps the new window at a comfortable height from the ground while preserving the window’s functionality.
- Modifying the Frame: You can adjust the frame at the top by removing part of the wall above the window to fit the taller window. However, this is a more complex option that may affect the structural integrity of the wall. Window heads often have a lintel of wood or concrete which may be more difficult to replace.
Other Factors to Consider:
- Window Functionality: Think about the function of the window. Does it need to open and close easily for ventilation, or is it more for natural light? Ensuring that any modification doesn’t impede the window’s operation is essential.
- Building Regulations: Make sure your modifications comply with local building codes, especially if you are altering structural elements like the lintel or sill. It may be necessary to check for regulations regarding minimum window sill height and the safety standards for replacing windows.
Step 2: Preparing the Work Area
Before removing the old window, make sure the work area is prepared:
- Remove curtains, blinds, or any other window treatments.
- Lay down dust sheets to protect floors and furniture.
- Remove the interior and exterior window trim (if applicable) carefully using a crowbar or chisel, as you may want to reuse it later.
Step 3: Removing the Old Wooden Window
Once the work area is prepped, you can start removing the old window:
- Score around the edges of the window frame where it meets the wall with a utility knife to loosen the paint or caulk.
- Use a reciprocating saw or crowbar to carefully remove the nails or screws holding the window in place.
- If you don’t have a reciprocating saw, wrap a piece of cardboard around the end of a hacksaw blade to protect your hand and fingers and carefully saw through any nails. This was how I had to do it at the time.
- Once the frame is loosened, gently pry the window out of the wall, ensuring you don’t damage the surrounding plaster or wall.
- Occasionally it may be that the wooden window frame is embedded into the plasterwork. I have found that in these circumstances it is often easier to cut through the upright part of the window frame at both sides and remove the frame in pieces than damage other parts of the brickwork.
- Several years ago I had windows “professionally” replaced. The window fitters arrived with a crowbar, a saw, an axe and a large spade. All of which were used in the removal of the old windows – including the spade!
Step 4: Adjusting for the New Window’s Height
Now comes the part where you decide how to handle the height mismatch.
Option 1: Modifying the Window Frame
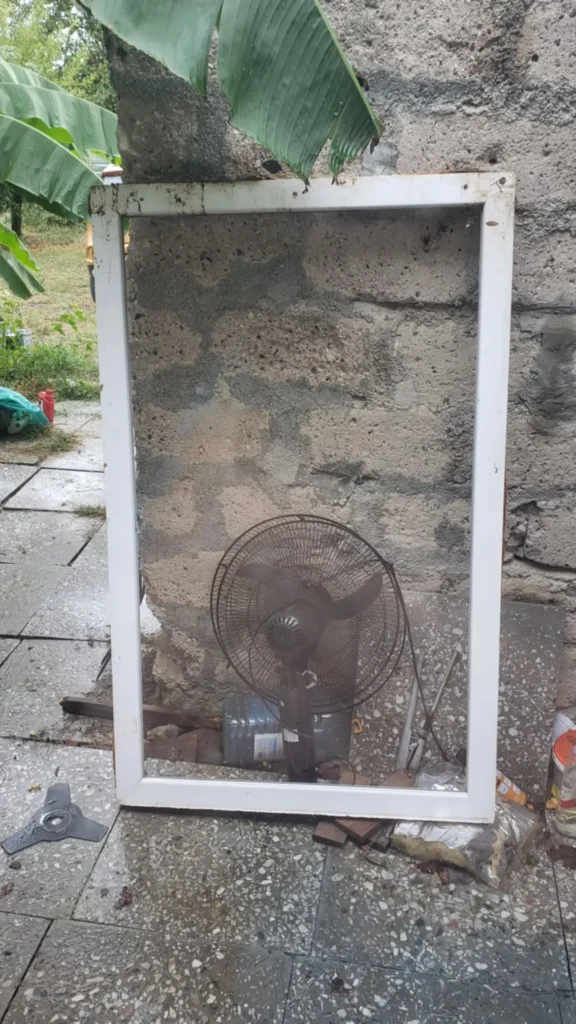
If you prefer not to alter the window sill, you can make adjustments to the window frame to accommodate the taller PVC double-glazed window. In my most recent case, the sill height was at a normal level whereas the top of the original window was below the level of the top of the room doors. Taking material from above the window was much more aesthetically pleasing than lowering the sill. As the room was single storey with a flat concrete roof, increasing the space at the top was by far the easier proposition.
- Remove the head casing (the horizontal piece at the top of the frame).
- If there is a lintel (a supporting beam above the window), it may need to be raised or adjusted. This is a more complex process and may require professional help if it involves load-bearing walls.
- Extend the frame upwards by cutting out enough of the wall above to fit the new window, ensuring you leave space for insulation and sealing.
- Once the height has been adjusted, rebuild the window frame at the top, ensuring it is level and secure. You may need to install a new lintel or header to support the additional height.
- It is important that when installing the reclaimed double-glazed window, the weight of the wall above is not taken on the window frame. It must be taken by the lintel above the window.
Option 2: Lowering the Window Sill
If you decide to lower the window sill, follow these steps:
- Remove the sill by cutting or prying it out, being careful not to damage the surrounding wall.
- Cut down the wall beneath the window frame to the required height, ensuring you maintain the structural integrity of the wall. Depending on the material, this may require a saw, hammer, or chisel.
- Rebuild the window sill at the new lower height using timber, brick, or concrete. Ensure the new sill is level and matches the slope of the original sill to allow water to drain away from the window.
- Once the new sill is in place, you can proceed with installing the window.
Step 5: Installing the Reclaimed PVC Double-Glazed Window
After modifying the window frame or sill, you can now install the reclaimed PVC double-glazed window.
- Test fit the double-glazed window to ensure it sits properly within the frame.
- Use shims (small pieces of wood) to ensure the window is level and centred. PVC double-glazed windows need to be installed plumb and square to function properly.
- Screw or nail the window into the frame using the pre-drilled holes or brackets on the window frame. Ensure the fasteners are secure but not over-tightened to avoid distorting the frame.
- Test: At this point, test the window for opening, closing locking etc as it will be more difficult to rectify at a later stage.
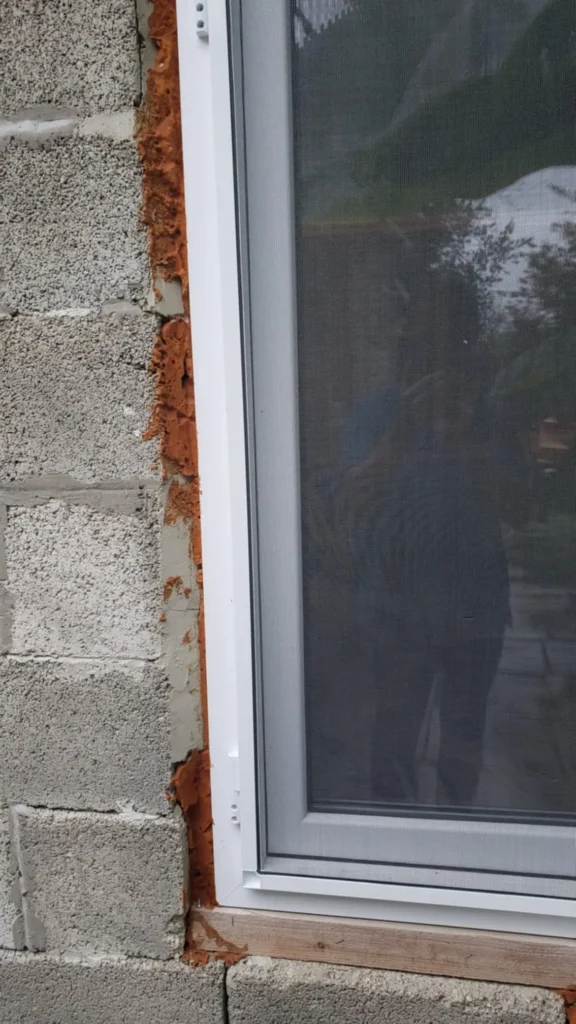
- Insulate around the double-glazed window. Use expanding foam to fill any gaps around the window. This will prevent drafts and improve the window’s energy efficiency.
- Install the trim around the window both inside and outside. This covers the gap between the wall and the window frame and ensures a neat finish.
Step 6: Sealing and Finishing
Proper sealing is essential for preventing water damage and drafts.
- Apply exterior caulk around the outside edges of the replaced double-glazed window to ensure a watertight seal. Pay special attention to the top of the window, where water could seep in.
- Paint or stain any trim or wooden elements to match your existing décor or to protect it from the elements.
- Finally, clean the window and again, ensure it opens, closes, and locks correctly.
Step 7: Post-Installation Considerations
After the window is installed, check for any issues:
- Check for drafts around the window to ensure it’s well-sealed.
- Inspect the structural stability of the frame and wall, especially if you altered the window frame or lowered the sill.
- Test the operation of the window yet again, to ensure it functions smoothly.
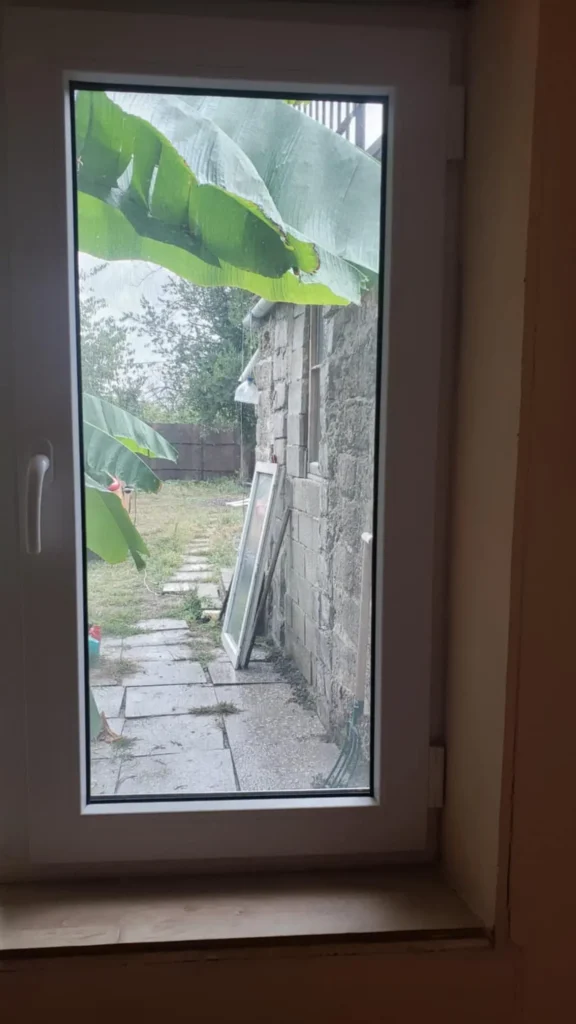
Replacing an old wooden window with a taller reclaimed PVC double-glazed window can be a challenging but rewarding DIY project. Whether you choose to modify the window frame or lower the sill to accommodate the new window’s height, careful planning, accurate measurements, and attention to detail are crucial. By following the steps outlined here, you can successfully install your new window, improve your home’s energy efficiency, and give it a fresh, modern look.
Remember, if the project involves complex structural work, don’t hesitate to seek professional advice or assistance. With the right tools and a little DIY know-how, this project can greatly improve both the functionality and aesthetics of your home.