
Making and Using a Foam Generator

Table of Contents
In the previous chapter we looked at the materials needed to make aircrete and, importantly, what each of them actually does.
There are two ways of getting the foam into the cement mixture.
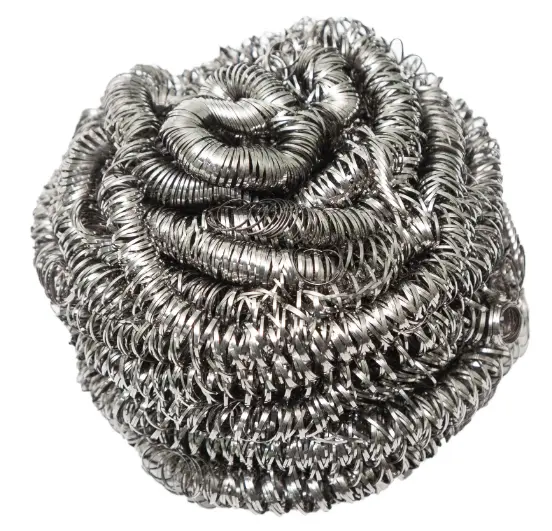
For small quantities, you don’t necessarily need a foam generator at all. Foam can be made directly in the mixing bucket using a modified drill mixer. A couple of stainless-steel kitchen scouring pads attached to the mixing paddles create a surprisingly effective foam as the mixture is stirred.
For larger quantities, however, a separate foam generator makes life considerably easier. It produces a large quantity of foam before it is incorporated into the cement, and it gives you much more control over the amount and consistency of the foam.
And the good news is that you don’t necessarily have to buy one.
What does a foam generator actually do?
The principle is quite simple.
A foam generator takes water containing a foaming agent and compressed air and combines them in such a way that the mixture emerges as a dense mass of small, stable bubbles.
Those bubbles are what turn ordinary cement slurry into aircrete.
The important thing is not the appearance of the generator itself. Commercial machines can look rather impressive, but the basic principle is the same: water, detergent and air have to be brought together in a controlled way.
My own generator is a DIY version made largely from ordinary plastic plumbing fittings, with a cheap spray gun forming the heart of the device.
Starting with a cheap spray gun
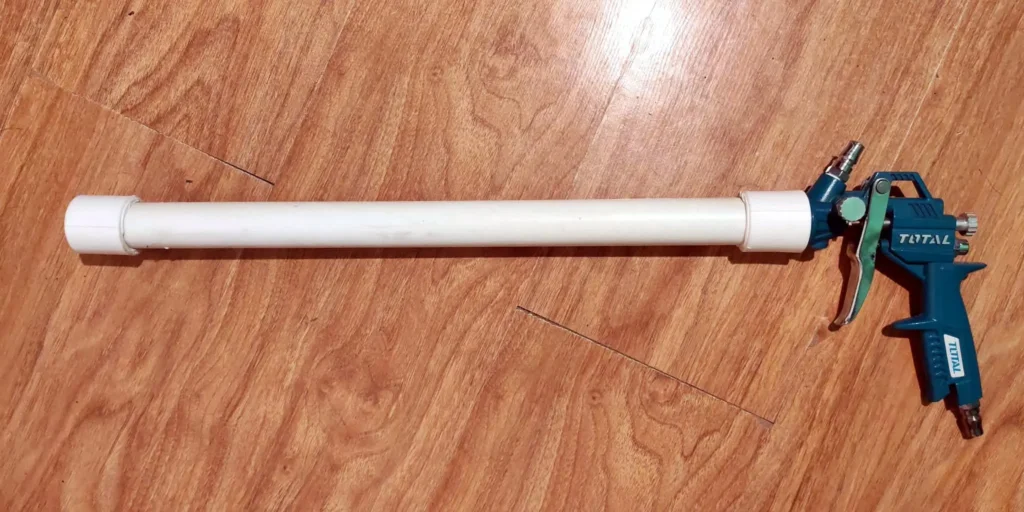
My Homemade Foam Generator.
This isn’t a design I’ve found on the internet and reproduced for the sake of this article. I actually made this one myself, and it is the foam generator I use.
It started life as a cheap DIY spray gun. With the paint cup and original winged nozzle removed, a heated PVC connector was screwed onto the gun body and extended with a length of plastic pipe. Inside the pipe is stainless-steel scouring wool. In place of the paint cup, I screwed in a connector to supply the shampoo. The rest of the gun I left alone.
That’s really all there is to it.
The compressed air and detergent solution enter through the spray gun, and the mixture is forced through the stainless-steel wool in the tube. The wool provides the intense mixing needed to turn the detergent solution and air into the fine foam required for aircrete.
Mine isn’t pretty, and it certainly isn’t a piece of industrial equipment. But it works — and that is rather the point of this website.
The main component of my foam generator is nothing exotic.
I started with an inexpensive spray gun of the type sold in DIY shops for spraying paint. Mine cost about 35 GEL — roughly ten pounds.
The paint cup and the original spray jet are removed, leaving the body of the spray gun and its controls.
I then used heat to modify the plastic connection. A suitable plastic pipe connector was heated until the plastic softened and, while it was still hot, screwed onto the spray-gun body.
Once cooled, this provides the connection to the pipework which forms the rest of the generatorBuilding a simple foam generator
If you want to make larger quantities of aircrete, a foam generator makes the job much easier. Commercial foam generators are available, but there is no great mystery to the basic principle, and the one I use is entirely DIY.
Mine started with a cheap DIY spray gun. Mine cost about 35 GEL — roughly £10 — and the other components were either things I already had or inexpensive plumbing fittings.
The important thing is that we are not going to use the spray gun as a spray gun.
Modifying the spray gun
First remove the paint cup from the gun. The small winged nozzle assembly at the front of the gun is also removed, leaving the main body of the gun with its air and liquid passages.
I then used a suitable plastic plumbing connector as the outlet. The connector was carefully heated until the plastic became soft enough to allow it to be screwed directly onto the threaded end of the spray-gun body. Once cooled, this made a surprisingly effective connection.
The exact connector you use will depend upon the particular spray gun and plumbing fittings available to you, so this isn’t really a matter of following a particular shopping list. The principle is simply to create a chamber and outlet through which the detergent solution and compressed air can pass.
- cheap spray gun;
- remove the paint cup;
- remove the original winged nozzle;
- heat the PVC adaptor and screw it onto the gun body;
- extend it with PVC pipe;
- stainless-steel scouring wool inside the pipe;
- detergent/water supplied through the gun;
- compressed air supplied through the gun’s air connection;
- the gun’s rear air-control regulating the air/foam mixture;
- 12 V tyre compressor for small quantities;
- larger workshop compressor for serious production.
The stainless-steel wool inside the pipe is the secret to the surprisingly simple design. As the detergent solution and compressed air enter the gun, they are forced through the stainless-steel wool. The mass of fine fibres breaks up and mixes the liquid and air, producing the fine, stable foam needed for aircrete. The length of the pipe gives the mixture plenty of opportunity to form the foam before it emerges from the end.
Where the foam actually comes from
This is the important bit.
The foam is not produced simply by blowing air through the detergent solution. Inside my generator I placed stainless-steel scouring wool. This provides a mass of fine surfaces for the detergent solution and compressed air to pass through.
As the air and detergent/water mixture is forced through the stainless-steel wool, the liquid is broken up into thousands of tiny bubbles. The result is a dense, stable foam which can then be directed into the mixing container.
The stainless-steel wool is therefore doing a very important job. It is the part of the generator that actually creates the foam.
It is worth using stainless steel rather than ordinary steel wool. Ordinary steel will eventually rust, whereas stainless-steel scouring wool stands up much better to repeated contact with water and detergent.
Supplying the air
My first version used a 12-volt electric tyre pump as the air supply. This works perfectly well for making relatively small quantities of foam. The only disadvantage is that it produces the foam relatively slowly.
For larger quantities I now use a 30 CFM workshop compressor, which produces foam much faster and makes the process considerably more practical when there is a lot of aircrete to make.
The air supply doesn’t need to be complicated. The important thing is that you have a controllable supply of air rather than simply connecting an uncontrolled high-pressure source to the generator.
The spray gun already provides a convenient means of controlling the airflow: the air-control knob at the rear of the gun can be adjusted while the generator is operating until the air, water and detergent produce the consistency of foam you require.
Controlling the detergent
The detergent solution is supplied separately from the compressed air. The concentration of detergent in the water is important because different detergents produce very different quantities and qualities of foam. One thing I want to try and will be my next experiment, will be to replace the paint cup and fill it with the shampoo. If that works, the device will be even simpler.
I have found cheap shampoo particularly good for this job. It is generally formulated to produce a lot of foam, whereas ordinary washing-up liquid doesn’t necessarily produce the same rich, stable foam.
The exact concentration isn’t something I would treat as a universal recipe. Different shampoos behave differently, and the generator itself, air pressure and water flow all affect the result. The useful thing about a DIY generator is that you can adjust the mixture and airflow until you get the foam density you need.
And that is really the whole principle: water and detergent go in, compressed air is introduced, the mixture is forced through the stainless-steel wool, and foam comes out.
It looks rather more complicated than the bucket-and-mixer method, but once you understand what each part is doing, it is actually a very simple device..
The remainder of the unit consists of inexpensive plumbing components, tubing and control fittings. Some of mine were things I already had in the workshop and the rest cost very little.
The finished generator is surprisingly small — not much larger than a large mastic gun.
This is very much a DIY project rather than a piece of specialist equipment.
You do, however, need to be reasonably comfortable working with pipe fittings and making secure connections, because the system will be carrying compressed air.
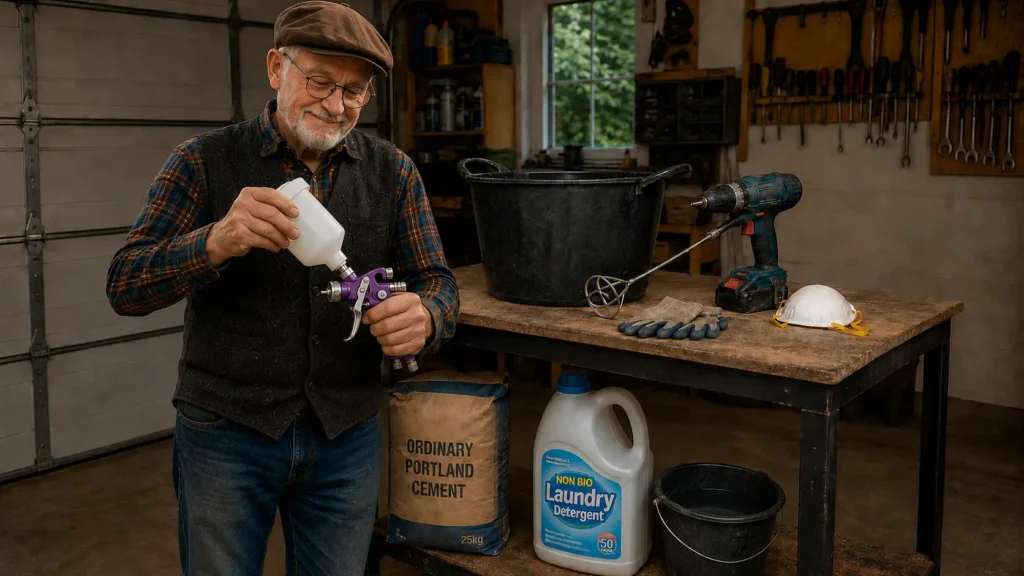
Where does the detergent come in?
The generator needs a supply of water containing the foaming agent.
This is another place where experimentation is useful.
As we mentioned in Chapter 2, not all detergents produce the same foam. I have had particularly good results with cheap shampoo because it is generally formulated to produce a large amount of foam.
Washing-up liquid can work, but I have found that it doesn’t produce quite such a rich foam.
The detergent solution is introduced into the generator along with the water, while compressed air is supplied separately.
The amount of detergent needs to be controlled rather than simply pouring a load into the system and hoping for the best. The object is to produce a dense, stable foam, not merely a bucket full of bubbles.
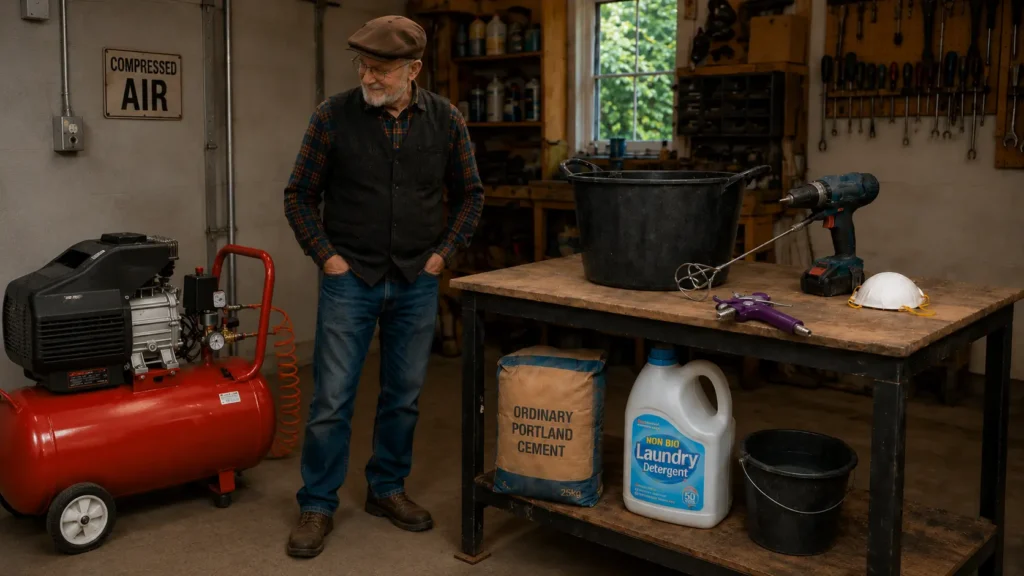
You need an air supply
This is the one part of the system you cannot really do without.
My first foam generator was powered by a 12-volt electric tyre pump.
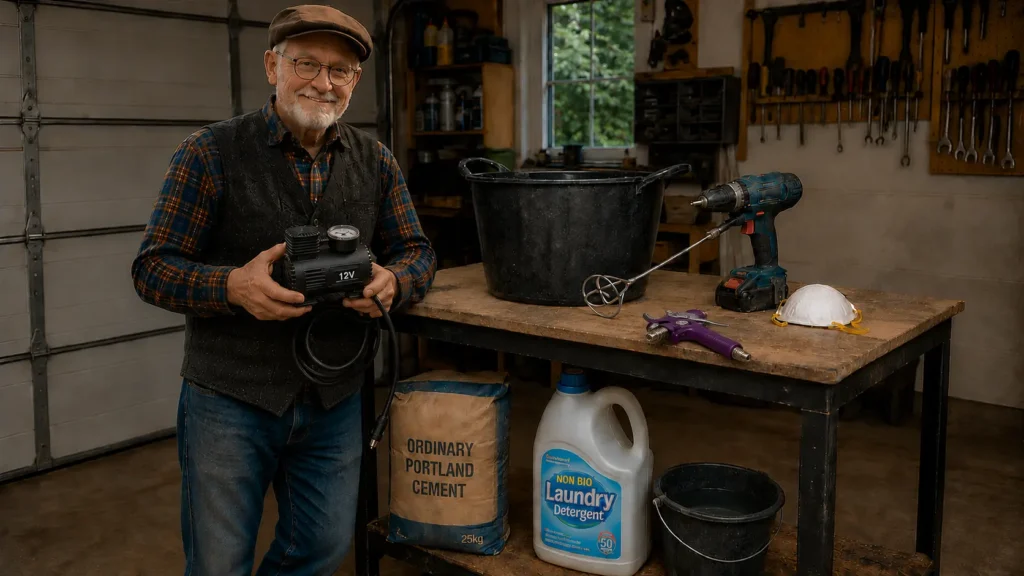
And it worked.
For making relatively small quantities of aircrete, the tyre pump was quite adequate. The only problem was that it didn’t supply air at anything like the rate of a proper compressor, so the foam was produced more slowly.
If you’re making a small batch, that’s not necessarily a problem. It simply takes longer.
For larger quantities I now use a 30 CFM compressor, and the difference is considerable. The foam is generated much faster, making the separate foam-generator method much more practical when producing a large amount of aircrete.
So don’t be put off by the mention of a compressor. You don’t need a huge compressor just to experiment with aircrete. A small 12-volt pump can demonstrate the principle perfectly well, provided you’re prepared to wait for the foam.
Controlling the air
One useful feature of using a spray-gun body is that it already has an air-control arrangement.
The air supply can be regulated using the air-control knob at the back of the spray-gun body.
This allows the air supply to be adjusted until the combination of water, detergent and air produces the type of foam required.
There isn’t necessarily one magic setting.
The foam density is affected by the detergent concentration, water flow and air supply, so some experimentation is inevitable. What you are looking for is a foam which is rich, stable and consistent, rather than thin and watery.
This is one of those occasions where experience is worth more than a complicated formula.
Make some foam.
Look at it.
Handle it.
Adjust the controls.
Make some more.
You’ll soon begin to recognise what you’re looking for.
Getting the foam into the cement
Once you’ve produced the foam, it has to be incorporated into the cement slurry.
And this is where there is an important difference between the two methods.
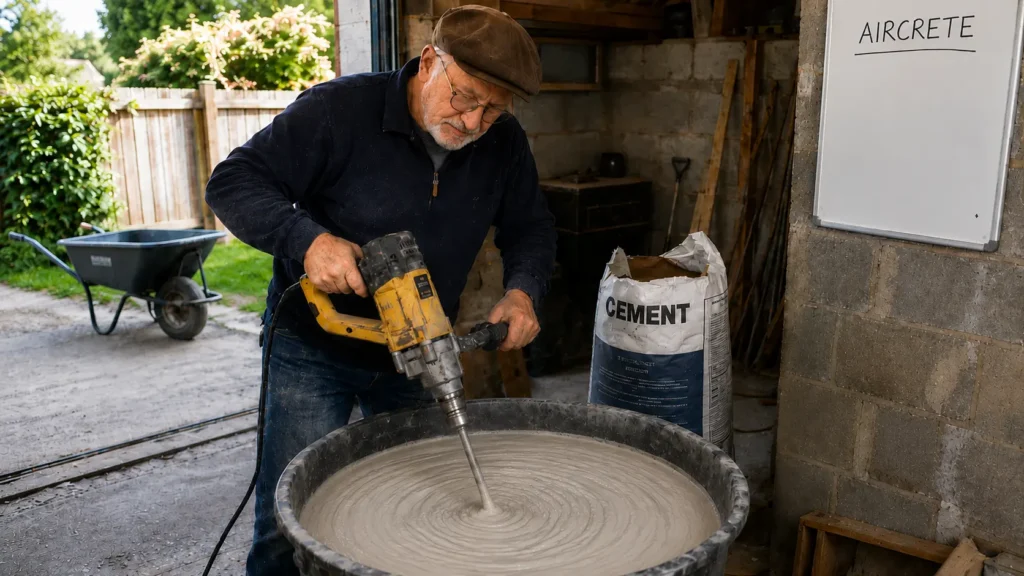
With the bucket method, the foam is produced directly in the cement mixture. The modified mixer is doing two jobs at once: producing the foam and incorporating it into the cement.
You can actually feel what is happening.
As the mixture becomes aerated it gets lighter and creamier. At some point it reaches the consistency you’re looking for.
And this is where you should stop.
Don’t beat the foam to death
It is tempting to think that more mixing must mean more air and therefore lighter aircrete.
It doesn’t.
Once the mixture has reached the required consistency, continuing to attack it with a drill and paddle can actually begin to break down the foam. The mixture can become more watery as the bubbles are destroyed.
With the bucket method, you learn to recognise the point where it feels right.
With a separate foam generator, I use a gentler approach.
The foam is made first and then incorporated into the cement mixture. Rather than violently mixing it with a drill paddle, the foam should be stirred and folded into the cement.
The aim is to distribute the foam evenly throughout the cement without destroying the bubbles.
In other words:
We’re trying to put air into the cement, not beat the air back out again.
That sounds obvious, but it is an easy mistake to make when you’re enthusiastic about mixing.
How much foam do you need?
This is where aircrete becomes particularly interesting.
The amount of foam you incorporate has a direct effect on the density of the finished material.
More air means a lighter material.
Less air means a denser and generally stronger material.
But there is a trade-off. If you keep adding foam simply because you want the lightest possible material, you eventually sacrifice strength.
The object is therefore not to produce the most foam possible.
It is to produce the foam density appropriate to the job.
This is another reason why having control over the foam generator is useful. You can experiment with different foam densities and different quantities of foam in the cement mixture and see how the resulting material behaves.
Do you actually need a foam generator?
No.
And I think that is worth saying again.
If you’re reading this and thinking “Bloody hell, I need a compressor and a homemade foam generator before I can even start” — you don’t.
The modified bucket mixer described earlier can produce perfectly usable aircrete.
The foam generator is simply a better solution when you’re making larger quantities or when you want to produce a more consistent supply of foam.
The bucket method is cheap and simple.
The separate foam-generator method is faster and gives you greater control.
Both work on exactly the same basic principle.
My DIY foam generator
There are many different ways of building a foam generator and I wouldn’t claim that mine is the only way — or even necessarily the best way.
What I can say is that mine was made from inexpensive, readily available components and it works.
The most expensive individual component was the spray gun, at about 35 GEL, and even that is hardly a frightening investment.
The rest was largely made from bits and pieces from the workshop and cheap plumbing fittings.
That’s one of the things I like about this whole project.
We’re not trying to reproduce an industrial aircrete factory in the garden.
We’re making something that ordinary people with a few tools, some inexpensive materials and a willingness to experiment can actually build themselves.
And once you’ve got the foam generator working, you have the means to produce as much foam as your cement mixing operation can consume.
That’s when making aircrete starts to become a genuinely practical proposition.