
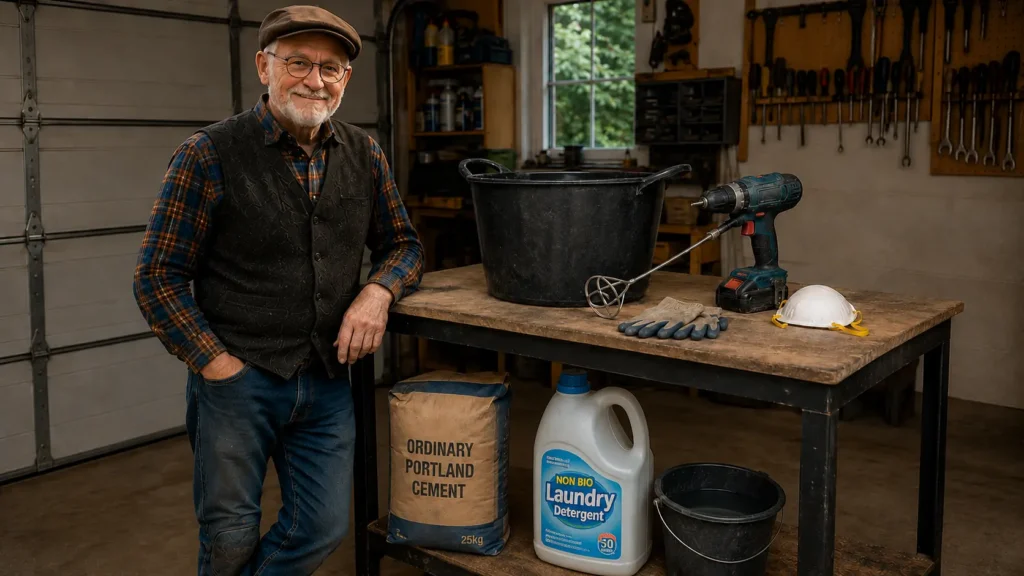
The Finished Material – What Can You Actually Do With It?
So, after all that mixing, foaming, pouring and waiting, what have we actually made?
Something that looks rather like a very ordinary piece of lightweight concrete.
Pick it up, though, and the difference becomes obvious.
It is surprisingly light.
The millions of tiny air bubbles throughout the material have replaced a large proportion of the solid material that would normally be present in ordinary concrete. That gives aircrete its most useful characteristic: a lot of volume for very little weight.
And that is really the whole point.
Let it cure properly
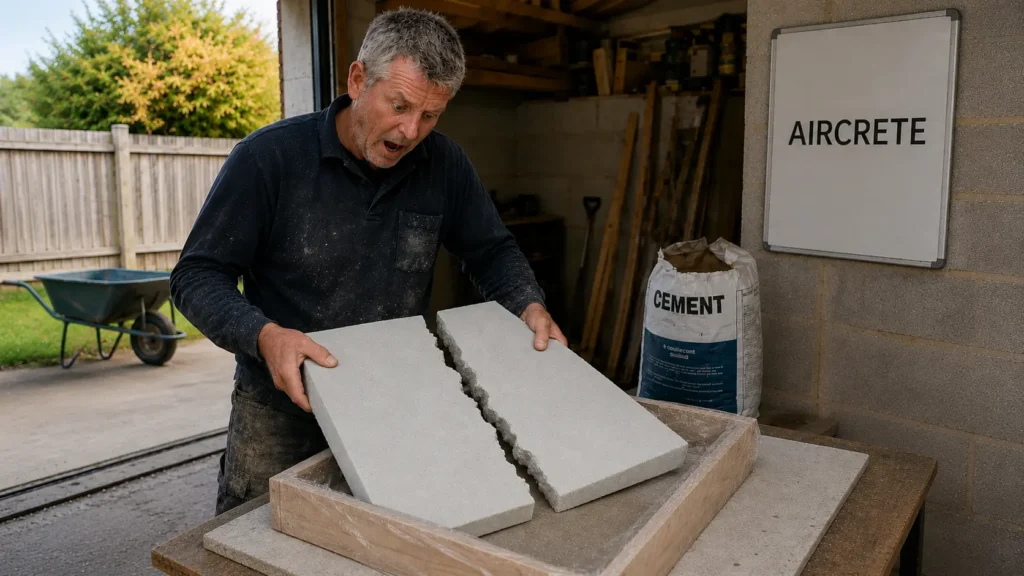
Don’t do what Fred did!
Once the mould has been filled, the aircrete needs time to harden.
Don’t be tempted to start playing with it too soon. The material may look reasonably firm on the surface while still being quite fragile internally.
I normally leave it alone until it has hardened sufficiently to remove it from the mould without damaging the edges. After demoulding, it continues to cure and gain strength.
The exact curing time will depend on the mix, temperature, moisture and the density of the material you’ve made, so there isn’t much point in pretending that there is one magic number of hours that applies to every batch.
This is one of those occasions when a bit of patience costs considerably less than making another batch.
Cutting and shaping
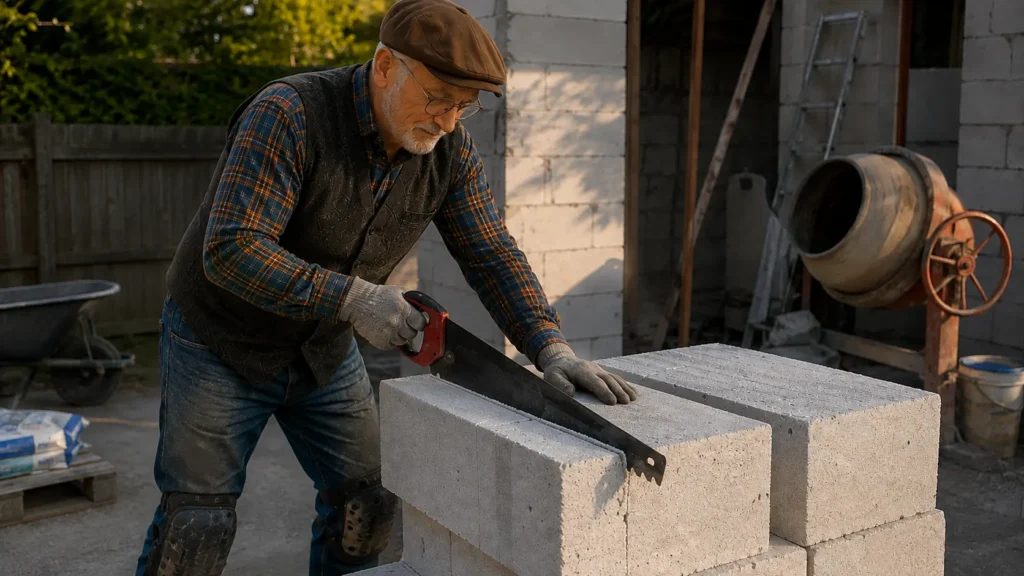
One of the lovely things about aircrete is that you don’t need a demolition hammer to alter it.
Depending on its density, it can be cut, sawn, drilled and shaped using ordinary tools.
That makes it particularly interesting for DIY work where you may need to make pieces to fit around pipes, openings or awkward spaces.
The lighter the material, the easier it is to work — but remember that this is also related to its strength.
And that brings us to something rather important.
Light doesn’t mean strong
Aircrete isn’t a magic replacement for structural concrete.
The more air you put into the material, the lighter it becomes, but generally the weaker it becomes as well.
That’s why density matters.
You can make relatively dense aircrete that has considerably more strength, or very lightweight material whose main attraction is its low weight and insulating properties.
So don’t look at a piece of aircrete and think:
“That’s concrete, therefore I can build anything with it.”
You can’t.
For non-structural applications, however, it can be extremely useful.
So what can you use it for?
This is where aircrete becomes interesting for the DIY builder.
It can be used for things such as:
- lightweight blocks and panels
- insulation and thermal infill
- non-load-bearing partitions
- filling and forming around awkward spaces
- lightweight construction where reducing weight is important
- garden and workshop projects
- shaped or moulded components
The particular application determines the density and strength you should aim for.
There is no single “perfect” aircrete mix.
You choose the material to suit the job.
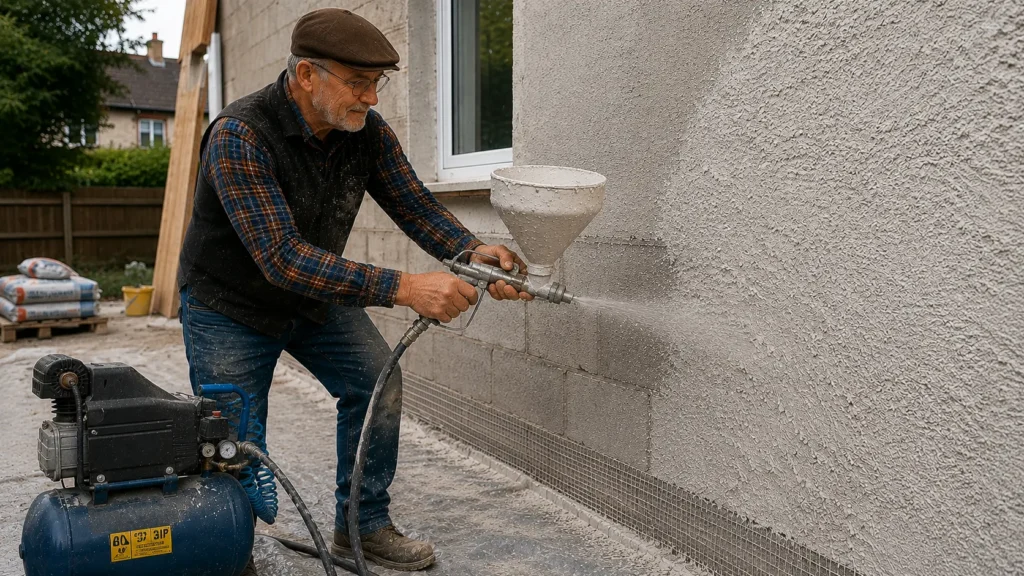
And the biggest lesson?
Having made aircrete both by the simple bucket method and with my homemade foam generator, I’ve found that the process isn’t nearly as complicated as some descriptions make it sound.
The important thing is understanding what is actually happening.
The cement provides the binder.
The water allows the cement to hydrate and form the hardened material.
The detergent creates the foam.
The foam generator creates a mass of small, stable bubbles.
And those bubbles remain trapped inside the cement mixture as it hardens.
That’s aircrete.
The trick is not some mysterious secret ingredient. It is getting the foam right and then treating it gently enough that you don’t destroy it.
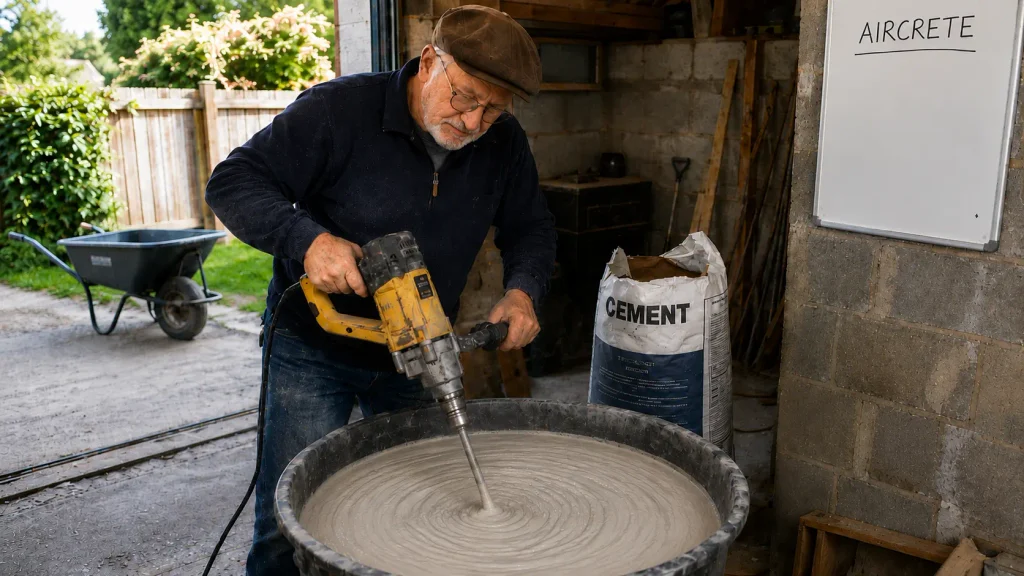
That’s why I don’t recommend attacking the final mixture with a drill paddle as though you’re mixing plaster.
Once the foam has been incorporated, stir and fold rather than violently mix.
If you overdo it, you’ll actually start breaking down the foam and the mixture becomes wetter and less useful.
Would I make it again?
Absolutely.
The whole point of this series wasn’t to reproduce an industrial manufacturing process in my workshop. It was to find out whether an ordinary DIYer could make useful aircrete without spending a fortune on specialist equipment.
The answer, from my experience, is yes.
My first foam generator was made from a cheap spray gun and bits and pieces I already had lying around. It was later used with a 30 CFM compressor, but for smaller quantities a simple 12-volt electric tyre pump works perfectly well — just more slowly.
The spray gun itself cost me about 35 GEL — roughly ten quid.
That’s not exactly industrial manufacturing equipment.
And yet the resulting foam works.
So if you have a reasonably equipped workshop, some cement, a source of detergent, a way of producing foam and a little patience, there is nothing particularly exotic about making your own aircrete.
You don’t need a factory.
You don’t even need my homemade contraption.
You just need to understand what you’re trying to make and why each part of the process matters.
And that, really, is the whole Aircrete Saga.
We’ve made it, broken it, experimented with it and learned how it works.
Now it’s over to you.