
What Is DIY Aircrete?

The Ingredients, the Equipment and the Foam
Table of Contents
Chapter 2 — The Ingredients, the Equipment and the Foam
Aircrete doesn’t require a mysterious collection of specialist ingredients. In its simplest form, we need only cement, water, a foaming agent and air.
What makes the process interesting is that each of these has a particular job, and the way we combine them determines the characteristics of the finished material.
For making blocks or other shapes, we also need a mixer and moulds.
Let’s look at each one.
Cement — nothing special required
The cement is the structural part of the aircrete. Once it has set, it forms the thin walls and webs surrounding all those tiny pockets of air.
There is no special “aircrete cement” required.
Ordinary Portland cement is perfectly suitable, and in my own experiments I have obtained perfectly good and consistent results using both relatively inexpensive cement and more expensive brands.
The important thing is not the price or brand of the cement, but the mix and the density of the finished aircrete.
There is little point spending considerably more on a premium cement if the rest of the process is not being controlled properly.
Water — straight from the tap
This one really is as simple as it sounds.
Ordinary tap water is fine.
There is no need for distilled, filtered or specially treated water for normal aircrete making. If the water is suitable for drinking, it is perfectly adequate for mixing the cement.
The quantity of water does matter, of course, because we need a workable cement slurry into which the foam can be incorporated. But there is nothing special about the water itself.
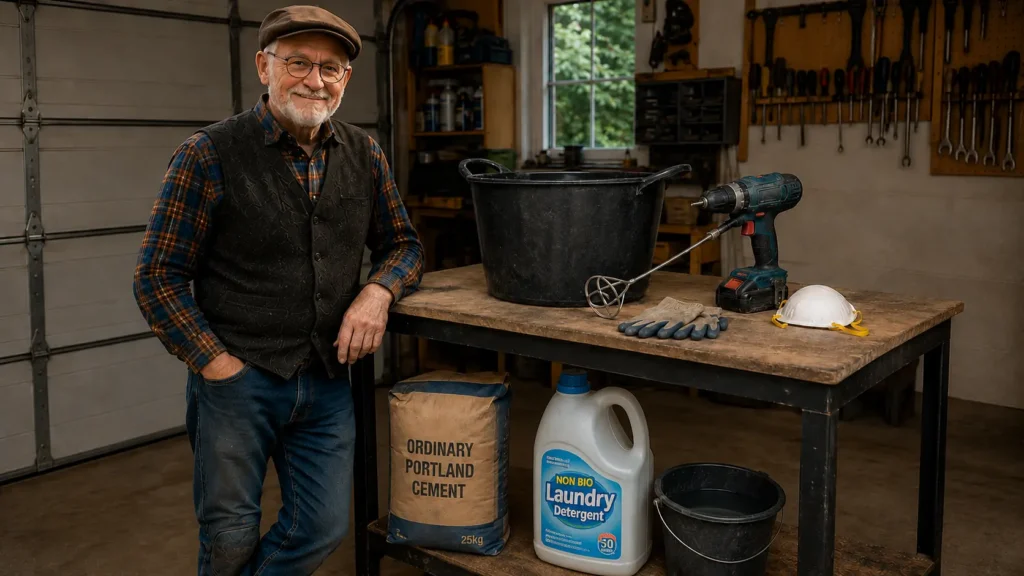
The foaming agent — where the air comes from
This is the ingredient that needs a little more explanation.
The detergent isn’t there to strengthen the cement or to alter its chemistry. Its job is to allow us to create a huge number of small air bubbles and, more importantly, to keep those bubbles from immediately disappearing.
Not all detergents behave in the same way.
In my experiments I have found that cheap shampoo can produce surprisingly good results. That may sound rather odd, but shampoo is formulated to produce a rich, stable lather, and that is exactly the characteristic we are looking for.
Washing-up liquid will certainly produce foam, but I have found that it doesn’t necessarily produce the same rich and stable foam that I get from some inexpensive shampoos.
That doesn’t mean that every cheap shampoo will outperform every washing-up liquid. Different products have different formulations, so some experimentation is inevitable.
The important thing is the foam that the product produces, rather than what the bottle says it is intended for.
Foam density matters
This is an important point because it is easy to think that more foam simply means more aircrete.
It isn’t quite that simple.
What we want is a large volume of small, reasonably stable bubbles. The foam needs to survive long enough to become thoroughly incorporated into the cement without simply collapsing.
The density of that foam, its bubble structure and its stability all have an effect on the density of the final aircrete.
Ultimately, what we are trying to control is the amount of air occupying the finished volume.
A relatively dense aircrete mix contains more cement and less air. A very light mix contains a much greater proportion of air.
That gives us the fundamental trade-off:
more air → lower density → lighter material
while generally:
less air → higher density → stronger material
So the foam isn’t merely something we add to make the mixture look interesting. It is the mechanism by which we control how much of the finished material is actually air.
How do we make the foam?
There are two practical approaches.
The simple method — make it in the bucket
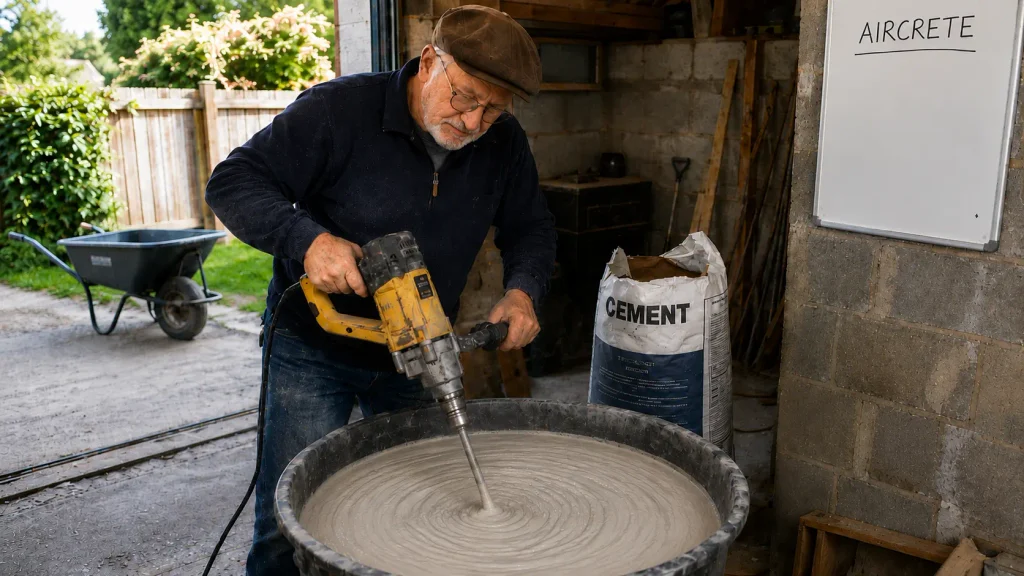
For small quantities, a separate foam generator isn’t essential.
The water, detergent and cement can be placed in the mixing bucket and worked with a conventional drill-mounted mixer. The mixer can be modified by attaching stainless-steel kitchen scouring pads to the normal mixing paddles.
The scouring pads dramatically increase the amount of surface available for creating bubbles as the mixer rotates.
As mixing continues, air is drawn into the cement slurry and the mixture becomes progressively lighter and creamier.
This is a remarkably simple arrangement and, for small jobs and experimentation, it can work very well.
The mixing action and duration are important because they determine how much air becomes incorporated into the mixture. A mixture that has been worked longer can develop a very light, creamy consistency as more air is incorporated.
But there is a point at which simply mixing longer is no longer necessarily an advantage. The objective is not to beat the mixture indefinitely; it is to produce the required density with a stable bubble structure.
The foam-generator method
For larger quantities, or when greater control and repeatability are required, foam can be produced separately with a foam generator.
A foam generator uses a controlled supply of water and detergent together with compressed air to manufacture the foam before it is introduced into the cement mixture.
A home-built generator is quite practical. My own was made from ordinary plastic water pipe and various connectors. The finished device is surprisingly small — little more than the size of a mastic gun.
It does, however, require a controlled water supply, a means of regulating the amount of detergent and, importantly, a suitable air compressor.
The construction of a foam generator is really a subject in its own right, so we’ll deal with that separately.
For the moment, the important thing to understand is what it does:
It makes the foam for us in a controlled way before we put it into the cement.
The mixer — don’t destroy the foam
Once the foam has been produced, it has to be incorporated into the cement.
This is where the mixer earns its keep.
With the simple bucket method, the mixer is doing two jobs: creating the foam and incorporating it into the cement.
With a separate foam generator, the cement and water are first mixed into a suitable slurry, and the prepared foam is then incorporated into it.
There is a balance here. We need enough mixing to distribute the foam throughout the cement, but we don’t want to treat the foam as though we were mixing ordinary concrete.
The object is to end up with a uniform, creamy mixture containing air throughout its entire volume.
Once we have that, we are ready to put it into moulds.
The moulds
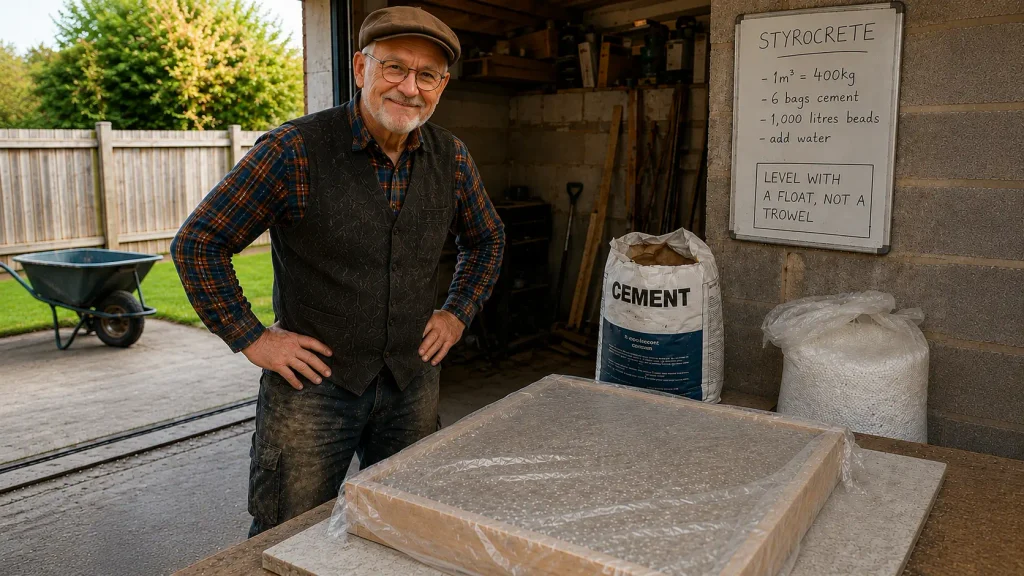
The mould is perhaps the least complicated part of the whole process, but it is still worth getting right.
Aircrete can be poured into almost any convenient mould provided that the material can be removed once it has set sufficiently.
For blocks, a simple rectangular mould is all that is required. The mould can be made from timber, plywood, plastic or other suitable materials.
The important thing is that the dimensions are consistent and that the mould can be opened or the block removed without damaging the relatively soft material.
A light coating of a suitable release agent can also make removal considerably easier.
There is one important difference between casting aircrete and casting ordinary concrete:
Don’t vibrate it.
With conventional concrete, vibration is often used to remove trapped air and consolidate the mixture.
With aircrete, the air is the whole point.
We have gone to all the trouble of creating millions of tiny bubbles, so the last thing we want to do is shake them out of the mixture.
The mould should therefore be filled gently and left to settle without the sort of aggressive vibration that would normally be used with dense concrete.
The exact moulding and curing process will depend on what we are making, and we’ll look at that in more detail when we actually make our first blocks.
So, before we make anything, we now know what every part of the process is doing:
Cement provides the solid structure.
Water makes the cement workable and allows it to hydrate.
Detergent allows us to create stable bubbles.
Air provides the lightweight volume.
The mixer combines everything into a uniform material.
The foam generator, when used, gives us a controlled supply of foam.
The mould gives the wet aircrete its final shape.
And that brings us to the really interesting question:
How much air do we actually want?
Because that is what determines whether we’re making a relatively dense, strong material or an extremely lightweight insulating material.
That’s where density comes in — and that’s the subject of the next chapter.