
Radiator Therapy: How to Bleed a Radiator and Warm Up Your Home
How to Bleed a Radiator: A Simple Step-by-Step Guide
If a radiator is cold at the top but warm at the bottom, or you can hear gurgling or bubbling inside it, there may be air trapped in the radiator.
Fortunately, bleeding a radiator is one of the simpler jobs you can do yourself. It doesn’t require dismantling anything and, in most cases, takes only a few minutes.
But before reaching for the radiator key, there is one important thing to understand:
Bleeding will remove trapped air. It will not cure every radiator that isn’t heating properly.
A radiator that is cold at the bottom rather than the top may have a circulation or sludge problem instead.
Table of Contents
Why Does a Radiator Need Bleeding?
A central-heating radiator is designed to contain hot water. If air becomes trapped inside it, the air takes up space that should be occupied by water.
Because air rises, it commonly collects at the top of the radiator.
This can produce some familiar symptoms:
- The radiator is cold at the top but warmer at the bottom.
- You hear gurgling, bubbling or rushing-water noises.
- The radiator takes longer than usual to become hot.
- The radiator does not heat evenly.
Bleeding the radiator releases the trapped air and allows the radiator to fill properly with heating water again.
Cold at the bottom? That’s different.
This is worth knowing because it can save you from doing a job that won’t solve the problem.
If the radiator is hot at the top but cold at the bottom, trapped air is unlikely to be the cause. Sludge or restricted water circulation may be responsible.
Bleeding the radiator won’t remove sludge from the bottom.
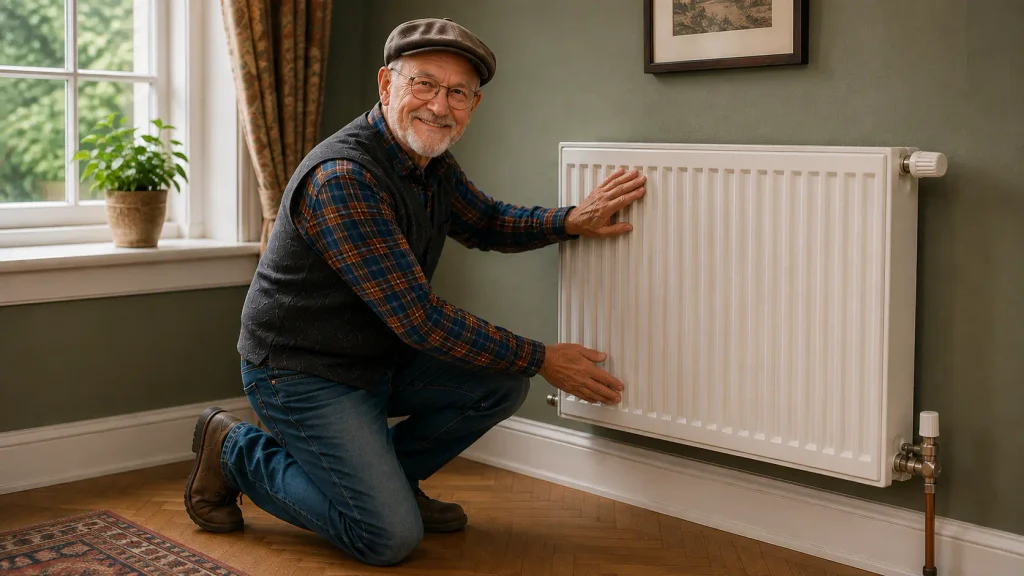
How Do I Know if My Radiator Needs Bleeding?
The easiest test is to turn the heating on and allow the radiators to warm up.
Carefully feel the radiator across its surface.
You are looking for an obvious difference between the top and bottom.
Cold at the top and warm below it: trapped air is a likely cause.
Cold at the bottom and warmer above it: look for a circulation or sludge problem instead.
A radiator that is completely cold may have an entirely different problem, such as a closed valve, a stuck thermostatic radiator valve or a circulation fault.
So don’t automatically bleed a radiator simply because it isn’t getting hot.
What You Will Need
The job requires very little equipment:
- A radiator bleed key
- A cloth or old towel
- A small bowl or container
Some radiator bleed valves can be operated with a suitable flat-bladed screwdriver, but a radiator key is inexpensive and is the correct tool for the common type of valve.
You don’t need to remove the radiator from the wall, turn off the water supply or drain the heating system.
Before You Start
There is one important safety precaution.
Do not bleed a radiator while the heating is running or while the radiator is very hot.
The water inside the radiator can be hot enough to cause a nasty scald.
Turn the heating off and allow the radiators to cool before opening a bleed valve.
If you have a sealed central-heating system, such as many modern combi-boiler installations, bleeding a radiator can also cause the system pressure to fall slightly. We will check that afterwards.
Step 1: Turn the Heating On
Turn the central heating on and allow the radiators to become properly warm.
This makes it easier to identify which radiator has a problem.
Don’t worry about the exact temperature. You simply want the heating system operating normally long enough for any cold areas to become apparent.
Step 2: Check the Radiators
Walk around the house and check the radiators.
Feel the temperature across the radiator rather than just touching one small area.
If you find a radiator that is noticeably colder at the top than the bottom, that is a good candidate for bleeding.
You may also hear a radiator making a gurgling or bubbling noise.
If several radiators have the same problem, make a note of them so you can deal with them systematically.
Step 3: Turn the Heating Off
Now switch the heating off.
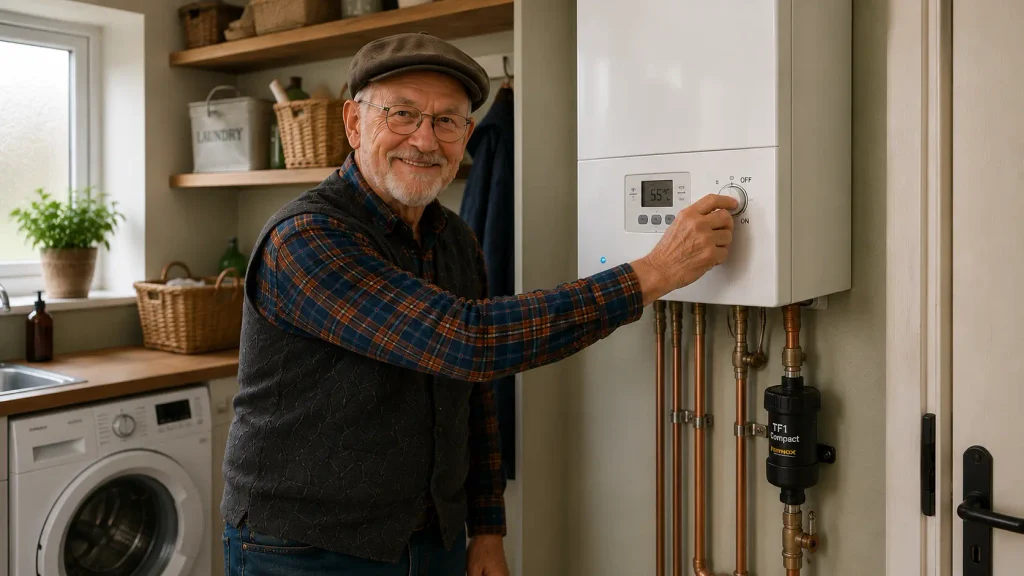
Give the radiators time to cool down before attempting to bleed them.
This is not a job to rush.
Opening a bleed valve on a hot radiator can allow hot water to escape under pressure. Apart from making a mess, it can cause a burn.
Step 4: Find the Bleed Valve
The bleed valve is normally at the top corner of the radiator, usually at the end opposite the thermostatic or manual control valve.
It is a small fitting containing a square or slotted opening.
The radiator key fits into this opening.
If you are unsure which part you are looking at, don’t start undoing fittings at random. The bleed valve is a small valve specifically designed to release air from the radiator.
Step 5: Bleed the Radiator
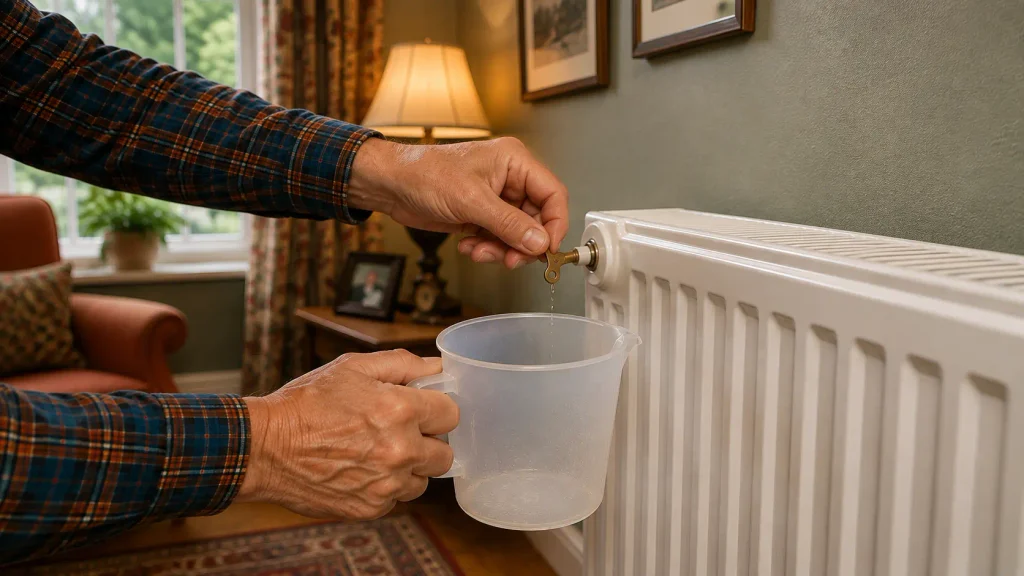
Put your cloth underneath the valve and hold the small container beneath it.
Insert the radiator key into the bleed valve.
Turn the key slowly anti-clockwise.
You normally only need a small turn. Do not remove the bleed screw.
As the valve opens, you should hear air escaping.
It may sound like a hiss.
This is exactly what you are trying to release.
Wait for the air to escape
Keep the valve open while air is escaping.
Eventually, the hissing should stop and water will begin to emerge.
When you get a steady flow of water rather than air, close the valve by turning the key clockwise.
You don’t need to tighten it with great force.
Firm and gentle is enough.
The little valve is not a wheel nut and doesn’t need to be attacked with a six-foot length of scaffold pole.
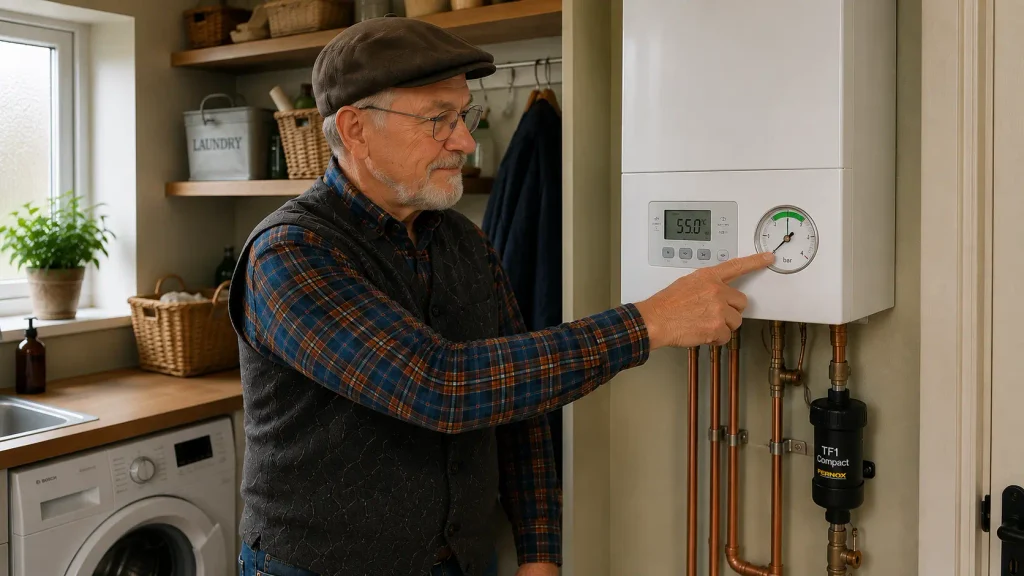
Step 6: Check the Boiler Pressure
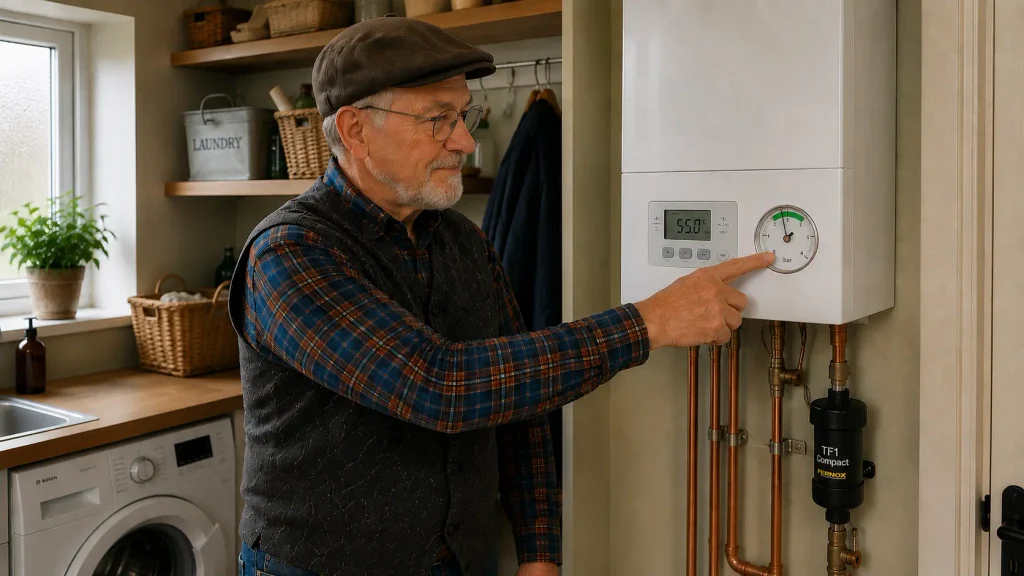
If your heating system is a sealed system with a pressure gauge, check the boiler pressure after bleeding the radiator.
Bleeding can allow a small amount of water out of the system, so the pressure may have fallen.
Many sealed domestic heating systems are designed to operate at roughly 1 to 1.5 bar when cold, but the correct pressure varies between systems.
Use the pressure range specified by your boiler manufacturer.
If the pressure is below the recommended range, the system may need to be topped up using its filling loop or filling mechanism.
If you have never done this before, check the boiler manufacturer’s instructions rather than guessing.
Don’t deliberately overfill it.
There is no advantage in pushing the pressure to the top of the gauge.
The important thing is to bring it back into the manufacturer’s recommended range.
Step 7: Turn the Heating Back On
Once you have finished bleeding the radiator and checked the system pressure, turn the heating back on.
Allow the radiator to warm up again.
Check it from top to bottom.
A radiator that was suffering from trapped air should now heat much more evenly.
Also listen for the gurgling noise that prompted you to investigate it in the first place.
If the radiator is now heating properly and quietly, job done.
What If the Radiator Is Still Cold?
This is where it is important not to keep bleeding the radiator simply because it isn’t working properly.
If the radiator is still cold at the top, you may have another problem.
If it is cold at the bottom but hot at the top, trapped air is probably not the culprit. Sludge or restricted circulation may be preventing hot water from circulating through the lower part of the radiator.
Other possibilities include:
- A thermostatic radiator valve that is stuck.
- A valve that has been turned off or restricted.
- Poor circulation through the heating system.
- A problem elsewhere in the central-heating system.
Bleeding the radiator again won’t fix these problems.
What If No Air Comes Out?
If you open the bleed valve and get neither air nor water, don’t assume the radiator is blocked.
On a sealed heating system, check the boiler pressure.
If the pressure is very low, there may simply not be enough pressure in the system to push water through to the radiator.
If the pressure is normal and the radiator still behaves strangely, the fault may lie elsewhere in the heating system.
This is a good example of why bleeding a radiator is a diagnostic job as well as a maintenance job. What comes out of the bleed valve — air, water, or nothing — tells you something about what is happening.
How Often Should You Bleed a Radiator?
There isn’t any rule that says every radiator must be bled once a year.
If a radiator is working correctly, there is no particular benefit in repeatedly opening its bleed valve.
Instead, look for the symptoms:
- Cold at the top.
- Gurgling or bubbling noises.
- Uneven heating.
If those symptoms appear, bleeding may be appropriate.
If they don’t, leave the radiator alone.
Frequently Asked Questions
Should I bleed a radiator with the heating on?
No. Turn the heating off and allow the radiator to cool before opening the bleed valve. This reduces the risk of being scalded by hot water.
Which way do I turn the radiator key?
Turn the key anti-clockwise to open the bleed valve and clockwise to close it.
Only open it slightly. There is no reason to remove the screw completely.
How long should I bleed a radiator for?
There is no fixed time. Allow the trapped air to escape until water begins to emerge steadily, then immediately close the valve.
Why is my radiator cold at the bottom?
A radiator that is cold at the bottom but warmer at the top is not showing the usual symptoms of trapped air. Sludge, restricted circulation or another heating-system problem may be responsible.
Why is my radiator cold at the top?
A cold top with a warmer bottom is a classic sign that air may be trapped inside the radiator. Bleeding it may solve the problem.
Do I need to bleed all my radiators?
No. Only bleed radiators that show signs of trapped air. If several need attention, you can deal with them one at a time.
Will bleeding a radiator reduce boiler pressure?
It can. A small amount of heating water may escape after the trapped air, and this can reduce the pressure in a sealed heating system.
Check the boiler pressure afterwards and follow the boiler manufacturer’s instructions if it needs topping up.
A Five-Minute Job That Can Make a Big Difference
Bleeding a radiator isn’t complicated, but it is worth doing properly.
Identify the symptoms first, let the heating cool, release the trapped air, close the valve when water appears, and check the boiler pressure afterwards if you have a sealed system.
And remember the most useful diagnostic rule:
Cold at the top? Think air.
Cold at the bottom? Think of something else.
That simple distinction can save you from repeatedly bleeding a radiator that doesn’t actually need bleeding.