
How to Install Steel Profiles for Internal Drywall: A Step-by-Step Guide.
Today, we’re going to tackle how to install steel profiles for internal drywall—a process that, once you get the hang of it, can be satisfying, sturdy, and surprisingly enjoyable (yes, really). If you’ve ever looked at an empty room and thought, “You know what would look great here? Some walls!” then you’re in the right place. This guide will take you from the basics of cutting and joining to mounting on different wall types, all while reminding you to leave room for essentials like electrical cables and water pipes. To get started we’re going to install steel profiles.
Table of Contents
Why Steel Profiles?
Before we jump in, you might be wondering, “Why are we going to install steel profiles instead of wood studs?” Steel profiles are durable, resistant to pests, and less likely to warp or twist over time. Plus, they’re lightweight and relatively easy to work with, especially when installing drywall partitions or room dividers. So grab your steel profiles, and let’s get started!
Step 1: Gather Your Tools and Materials
You’ll need the following:
- Steel profiles (usually called C-profiles for verticals and U-profiles for horizontals)
- Metal shears or angle grinder for cutting
- Screwdriver or power drill
- Drywall screws
- Measuring tape
- Spirit level
- Jointing tape for plasterboards
- Joint compound (a.k.a. drywall mud)
- Plasterboards
- Safety gear (gloves, goggles, etc.)
Step 2: Cut Steel Profiles to Size
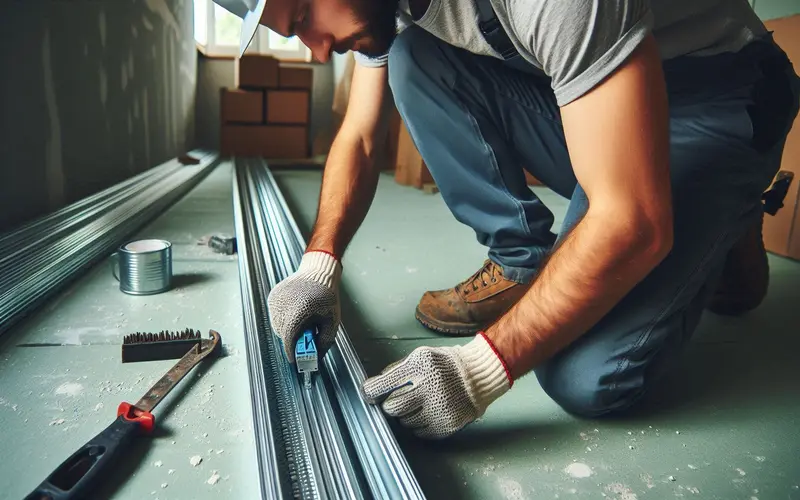
Cutting steel profiles might seem intimidating, but with the right tools, it’s a breeze. If you’re cutting small sections, metal shears will do the trick, but for larger cuts, an angle grinder works wonders.
Pro Tip for Cutting to Install Steel Profile
Measure twice, cut once. Make sure to double-check your measurements before slicing through the steel. Use a spirit level or straight edge to mark where you need to cut, then proceed carefully. If you’re using an angle grinder, make sure you’re wearing gloves and goggles—sparks are fun to look at but not so fun to catch!
Step 3: Join Profiles Together
Once you’ve got your profiles cut to the correct lengths, it’s time to start joining them together. There are a couple of ways to do this, depending on the structure you’re building.
Horizontal and Vertical Connections
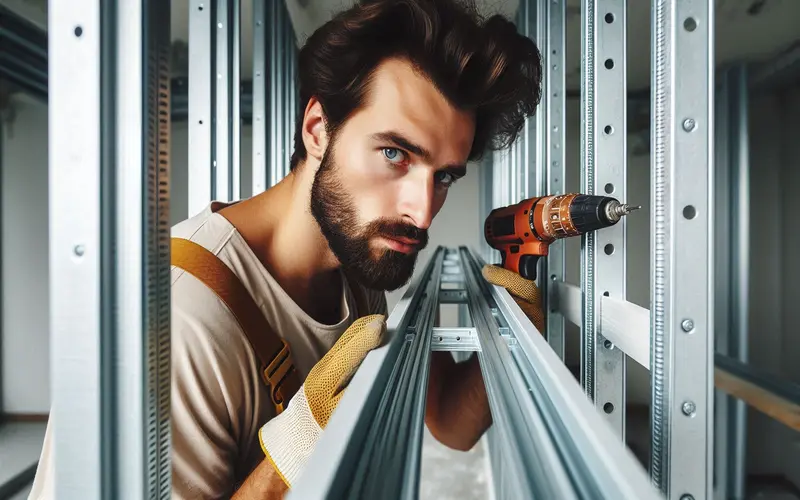
Start by securing U-profiles to the floor and ceiling (these are your horizontal supports). The C-profiles will sit vertically between them, acting as the studs. You can attach these with screws for a secure connection. Make sure the profiles are aligned straight using your spirit level, as a tilted frame will throw off the entire wall.
For extra stability, add screws every 60 cm along the length of the profiles. This will make sure the entire structure feels solid.
Step 4: Attach Accessories and Mount to Different Wall Types
Depending on the type of wall you’re working with, there are different ways to attach your steel profiles securely.
Mounting on Brick or Concrete Walls
For mounting on brick or concrete, you’ll need wall plugs (sometimes called rawl plugs) and screws designed for masonry. Start by drilling holes in the wall where you’ll attach your U-profiles, insert the wall plugs, and then screw the profiles into place.
Mounting on Drywall or Wooden Walls
When mounting on drywall, use toggle bolts or drywall anchors to support the weight of the steel profiles. For wooden walls, you can often screw directly into the wood for a secure attachment.
Step 5: Remember the Electric Cables and Water Pipes!
A crucial step that many forget: make sure all electrical cables and water pipes are in place before you add the plasterboards. Trust us, you don’t want to be tearing down perfectly installed drywall because you forgot to run some wiring.
Running Cables and Pipes
Most steel profiles have pre-punched holes that allow you to run cables through them easily. Just be careful to avoid any sharp edges that could damage the wiring. As for water pipes, make sure to double-check the layout to avoid any mishaps when attaching plasterboards.
Step 6: Attach the Plasterboards to the Steel Profiles
Now that your steel profiles are securely in place, it’s time to bring in the plasterboards.
How to Attach Plasterboards
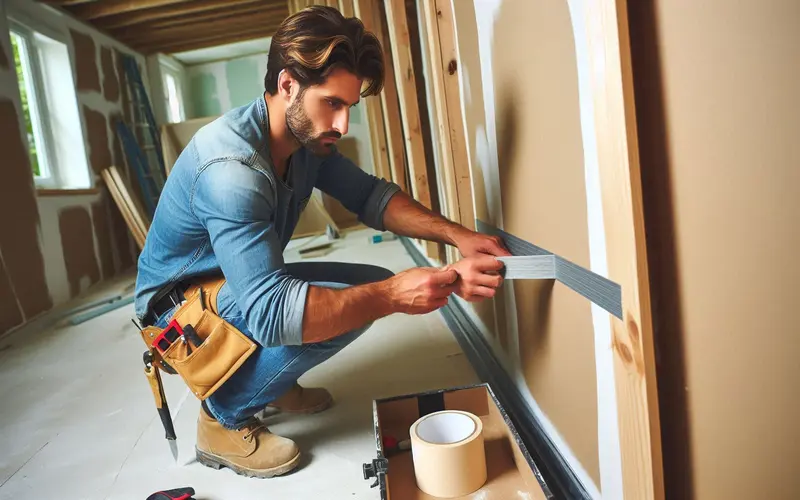
Position the plasterboards against the steel frame, making sure each board’s edge aligns with a stud (this helps prevent cracks). Use drywall screws, driving them into the profiles at intervals of about 25 cm.
Make sure the screw heads are slightly recessed without breaking the surface of the plasterboard—this will make finishing a lot easier.
Step 7: Joining Plasterboards Together
Now comes the art of joining plasterboards for a smooth finish. No one wants to see awkward gaps in their beautiful new wall!
Apply Jointing Tape and Compound
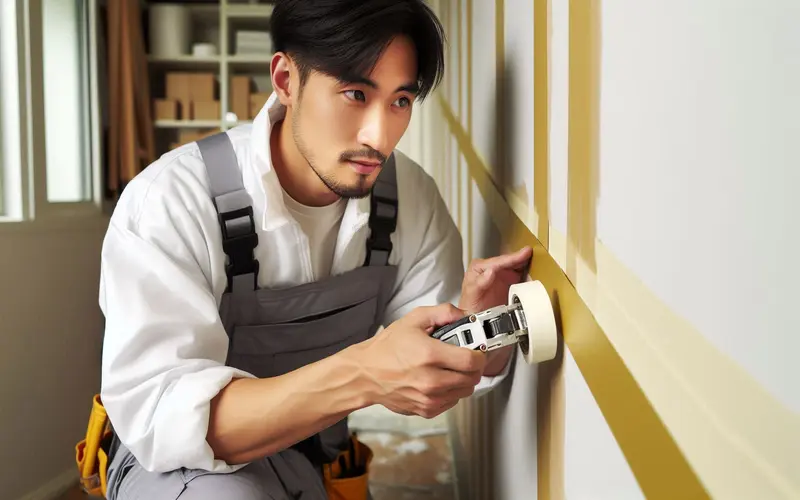
For clean, invisible seams, apply jointing tape over the gaps between plasterboards. Once the tape is in place, cover it with a thin layer of joint compound. Use a putty knife to spread the compound evenly, then let it dry. After it’s dry, sand it lightly for a seamless look.
For corners, use corner tape or a metal corner bead to give them extra durability. This ensures the edges stay sharp and prevent chipping over time.
Final Touches: Sanding and Painting
After the joint compound is dry and smooth, you’re ready for the finishing touches. Sand the wall to remove any rough spots, apply a primer, and then paint to your heart’s content!
Wrapping It Up
And there you have it—your complete guide to installing steel profiles for internal drywall! With these steps, you’ll have a solid, professional-looking wall in no time. Plus, you’ll have the satisfaction of knowing you did it yourself (and probably saved some cash along the way).
Just remember: measure twice, cut once, and don’t forget the cables and pipes before those plasterboards go up. Happy building!