
The DIY Enthusiast’s Guide to Buying, Using, and Sharpening Wood Chisels
For the DIY woodworking enthusiast, the humble wood chisels are tools of precision, finesse, and—when properly sharpened—sheer joy. But before you’re off gouging and carving your way through a new project, there’s a bit to know about picking the right chisels, keeping them sharp, and using them effectively (hint: there’s a mallet involved). While the wood chisel may seem straightforward, it’s a tool of craft and skill that opens up a world of woodworking possibilities, from clean joinery to delicate detailing.
Table of Contents
Let’s explore the ins and outs of buying, using, and sharpening wood chisels, so you can chisel your way into the ranks of savvy woodworkers.
Why Wood Chisels are Essential for the DIY Enthusiast
Whether you’re building cabinets, crafting furniture, or creating detailed designs, wood chisels give you control over woodwork that’s hard to beat. With a chisel, you can create mortises, tenons, dovetails, and intricate decorative features. Wood chisels also make it possible to reach tight spaces, cut fine details, and create a smooth finish where other tools can’t.
At its core, a chisel is essentially a small, honed blade with a handle, designed to cut, carve, or shape wood. But like any woodworking tool, there are a variety of types and styles to choose from, each with a specific purpose.
Types of Wood Chisels: Choosing the Right Tool for the Job
The first step in mastering the art of chiselling is selecting the right chisel for your tasks. Here’s a rundown of the primary types you might encounter:
1. Bevel-Edge Chisels
These are the classic, all-purpose chisels. The edges of the blade are angled, making it easier to reach into corners and get clean cuts in tight spaces. Bevel-edge chisels are perfect for fine woodworking and dovetailing.
2. Mortise Chisels
Mortise chisels are built for creating mortises, which are rectangular slots in wood designed to hold the end of another piece in place (think of traditional joint construction). They have a thick, sturdy blade that allows you to apply significant force without bending or breaking.
3. Paring Chisels
With long, thin blades, paring chisels are meant for delicate work and are used to shave off thin layers of wood. These chisels are not designed for use with a mallet; instead, they’re held by hand and applied with light pressure, making them ideal for tasks like finishing joints.
4. Firmer Chisels
These chisels have a thicker, flat blade and are good for general-purpose work, especially where you need a bit more muscle behind your cuts. Though they’re bulkier than bevel-edge chisels, they can still provide smooth cuts.
Essential Tools for Using Your Wood Chisels Effectively
Now that you’ve chosen your chisel, let’s talk about the accompanying tools that will make using and maintaining them easier.
1. A Mallet
While it may seem tempting to use any hammer lying around, using a wooden or rubber mallet is a much better option. A mallet provides a gentler impact and won’t damage the chisel handle. A regular metal hammer can dent or crack wooden handles, and the force can be too aggressive for fine work. For optimal control and durability, a mallet is the way to go.
2. Wood Chisel Sharpening Stone
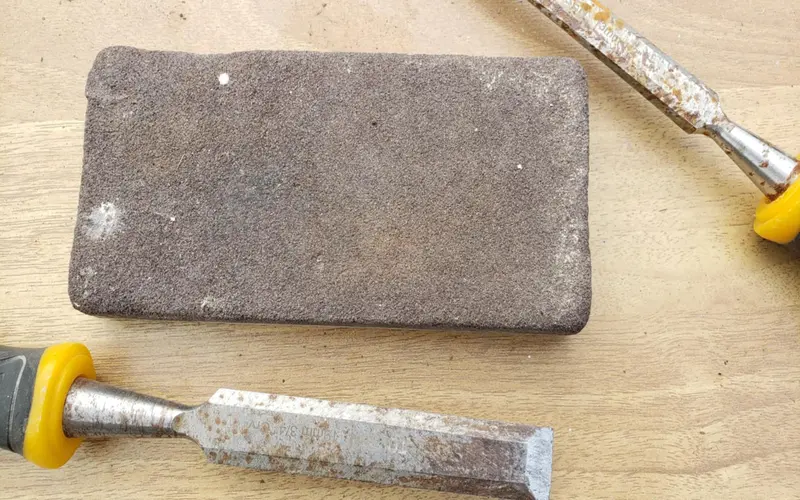
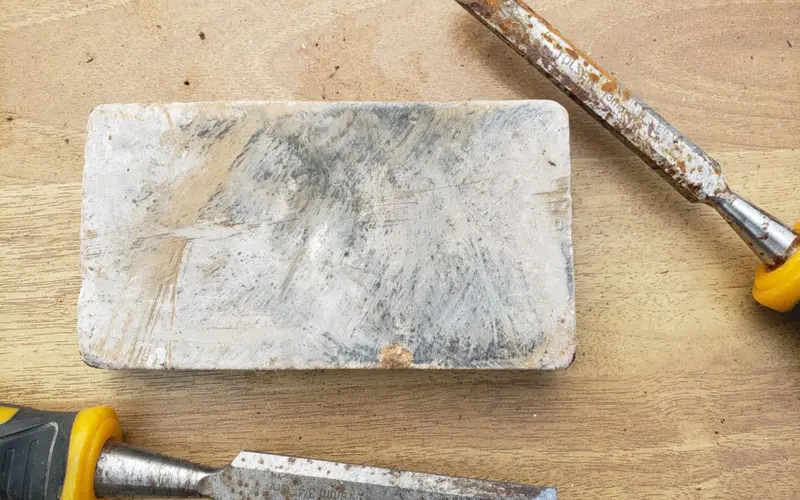
A sharpening stone (also called a whetstone) is crucial for keeping your chisels razor-sharp. Dull chisels not only make the work more challenging but can also be dangerous, as they’re more likely to slip. Common options include oil stones, water stones, and diamond stones. Water stones are a popular choice because they cut fast and can create a very sharp edge.
3. Honing Guide
If you’re new to sharpening, a honing guide is a fantastic tool to help you maintain the correct angle on your chisel’s edge. It’s a small, clamp-like device that holds the chisel in place, guiding you as you sharpen.
4. Strop and Honing Compound
For an extra-sharp edge, you can use a leather strop with some honing compound after sharpening. Stropping polishes the blade, removes burrs, and keeps the edge smooth. It’s a final step that can make a noticeable difference, especially if you’re working with hardwoods.
Using Your Wood Chisels: Techniques for Clean and Precise Work
Knowing how to use a chisel properly can take your woodworking from average to exceptional. Here are some basic techniques to get you started.
1. Positioning the Chisel
When using a chisel, angle it so that the bevelled edge faces up. This position gives you greater control over the depth and direction of your cut. Use your non-dominant hand to guide the blade while applying light pressure with your dominant hand.
2. Paring
Paring is a technique where you shave off thin layers of wood with controlled, light pressure. Paring chisels are ideal for this, but you can use bevel-edge chisels for the task as well. It’s best to go slowly, removing small amounts of wood to achieve the desired shape or fit.
3. Mortising
Mortising with a chisel is a bit more intense and requires using a mallet. For this, hold the chisel with the beveled edge down and tap the back with a mallet to carve out the wood. Mortise chisels are designed for this, as they can withstand the impact without chipping.
4. Finishing Joints
When finishing dovetails or other joints, chisels are perfect for trimming and smoothing out the fit. Use a paring motion to adjust small imperfections, ensuring that each piece fits snugly.
5. Avoid Excessive Force
Woodworking is as much about control as it is about strength. Let the sharpness of your chisel do the work. If you’re applying so much pressure that you’re straining, it’s time to sharpen your blade rather than press harder.
Keeping Your Chisels Sharp: The DIY Enthusiast’s Guide to Honing
A sharp chisel makes for a safe, efficient tool, so let’s walk through some sharpening basics.
1. Prepare Your Sharpening Stone
If you’re using a water stone, soak it in water for about 10-15 minutes before sharpening. For oil stones, apply a few drops of oil. These lubricants help remove debris and prevent the stone from clogging.
2. Set Up the Honing Guide
To sharpen the edge at the correct angle, attach the chisel to a honing guide. For most chisels, the optimal bevel angle is around 25 degrees. The honing guide will lock the chisel at this angle and ensure even sharpening.
3. Start with a Coarse Grit
Begin with a coarse grit stone (around 1000 grit) to re-establish the primary bevel if it’s very dull. Move the chisel back and forth across the stone, applying even pressure. After a few passes, you should notice a burr forming on the back edge.
4. Move to a Finer Grit
Once the burr has formed, switch to a finer grit stone (4000 to 8000 grit). This will refine the edge and make it even sharper. Use the same back-and-forth motion, keeping the angle consistent.
5. Strop for the Final Polish
After sharpening, use a leather strop and a dab of honing compound to polish the edge. This removes any remaining burrs and gives the blade a razor-sharp finish. Stropping isn’t necessary every time you sharpen but is great for keeping an edge in top condition.
Common Mistakes to Avoid
Sharpening takes practice, so don’t be discouraged if you don’t get perfect results right away. Here are some common pitfalls to look out for:
- Inconsistent Angles: Without a honing guide, it’s easy to change the angle unintentionally. The more consistent your angle, the sharper the blade.
- Skipping the Strop: It may seem unnecessary, but stropping really does make a difference, especially for high-precision work.
- Overusing the Mallet: Use controlled taps rather than heavy swings; chisels are for finesse, not brute force.
Sharpen Your Skills with a Sharp Chisel
Wood chisels are a small but mighty tool that can add detail, quality, and craftsmanship to your woodworking. From picking the right types to keeping them razor-sharp, using chisels well takes a bit of knowledge and practice, but the results are worth it. So, grab your mallet, give your chisels a quick sharpen, and get to work—there’s a world of smooth joints, crisp edges, and precise details waiting to be created with just a chisel and a little bit of patience.