
Build Your Own Pallet Furniture
Welcome to the wonderful world of pallet furniture – those rugged, rustic, and ridiculously versatile wooden platforms. Today, we’re diving into the world of pallet furniture and focusing on one delightful project that’ll give you a reason to throw a “Look What I Made” party – a DIY pallet coffee table.
Table of Contents
Pallets are excellent sources of materials for making all kinds of pallet furniture but also have many other uses. We explore them here. Whether you’re a seasoned DIY enthusiast or someone who’s only ever built IKEA furniture (no judgment here!), building your own pallet coffee table is a project that’s not only fun but also gives you a practical piece of furniture at the end. Plus, nothing beats the satisfaction of sitting down with a cup of tea on a table you built yourself.
So, let’s grab our tools, flex our creativity, and build something cool!
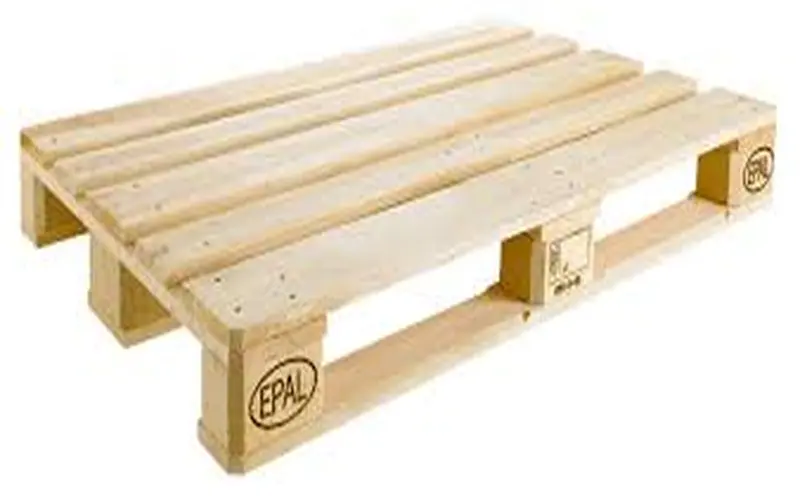
Why Pallets?
Before we jump into the nitty-gritty of the build, let’s talk about why pallets are the go-to for DIY pallet furniture. First off, they’re cheap – or, if you’re lucky, free! You can often find them lying around at warehouses or supermarkets just waiting to be given a second life. Pallets also have that rustic charm, the kind of look that makes it seem like you’ve spent your weekends frolicking in a countryside barn, crafting bespoke furniture. And, most importantly, pallets are sturdy. They’ve been designed to carry heavy loads, so making a coffee table out of them is a no-brainer. It’s like turning a bodybuilder into a ballet dancer – surprisingly graceful and functional.
What You’ll Need
Alright, let’s start by gathering all the materials and tools you’ll need for this DIY adventure. I promise we’re not building a rocket ship, but there are a few things you’ll want to have on hand:
Materials:
- 1 or 2 wooden pallets (depending on the size of your table)
- Sandpaper (medium and fine grit) or a power sander
- Wood screws
- Wood glue – PVA preferably.
- Four caster wheels (for a moveable table, optional)
- Varnish, paint, or wood stain (your choice)
- Glass top (optional but makes it fancy)
Tools:
- Hammer (you know, for hammering stuff)
- Crowbar (to take apart pallets like a pro)
- Electric sander (unless you fancy an upper-body workout)
- Drill
- Screwdriver
- Measuring tape (measure twice, cut once… or just wing it)
- Paintbrush
Step 1: The Pallet Hunt
The first part of the process is sourcing your pallets. A little tip: aim for pallets marked with “HT” (heat-treated). This means they’ve been treated with heat instead of chemicals, which makes them safer for use in furniture, especially if you plan to serve snacks on your coffee table.
You can often find pallets at local businesses or recycling centres. If you’re lucky, you might score a couple for free. Just be sure to check them for any loose nails or splinters – you don’t want to bring home a splintery beast that’ll attack you mid-build.
Step 2: Disassemble with Care (But Also Power)
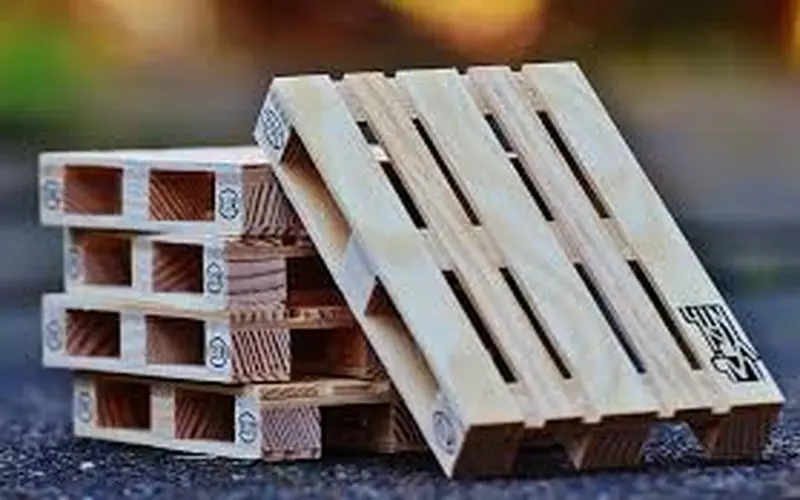
Now comes the fun part – disassembling your pallet! You’ll need your crowbar and hammer to gently (or not so gently) pry apart the slats. The key here is to take your time, even if your inner Hulk is itching to smash things apart. Try not to split the wood because you’ll need those slats intact to create your masterpiece.
Got the slats apart? Great! Now, keep an eye out for rusty nails. Remove them with your hammer’s claw or a nail puller. We’re going for “rustic,” not “dangerous.”
Step 3: Sand It Down
Your pallet slats have probably seen some rough times, so they’re going to need a good sanding. Start with medium-grit sandpaper to remove any splinters and rough patches. Be careful. I have had more than one wood splinter and a very bad infection from one particular splinter (or spelk as we call them in my home town). Then switch to fine-grit sandpaper to smooth everything out like a buttery croissant. On the other hand, forget that and go straight to the power sander. Much quicker and far less dangerous.
If you’ve got an electric sander, this is the time to shine. Otherwise, this is where your arm muscles will get a solid workout. Either way, keep sanding until the wood feels smooth to the touch.
Step 4: The Design – Simple or Stylish?
Before you start screwing things together, take a moment to decide on the design of your coffee table. Do you want a simple rectangular table with a lower shelf for magazines (who reads magazines anymore?) or a two-tiered beauty that screams, “I know what I’m doing”? You could also add castor wheels for a table that’s easy to move around – perfect for those spontaneous living room redecoration sessions.
Step 5: Build the Frame
Now for the main event: assembling your coffee table! Start by laying two pallet boards horizontally to form the base. These will act as your foundation. Next, attach vertical slats on each corner to form legs. If you’re going for a lower shelf, you can add a second layer of pallet boards about halfway up the legs.
Use wood screws and wood glue to secure everything together. Check that your table is level as you go (unless you like your coffee sliding off one side).
Pro Tip: If you’re adding wheels, screw them onto the bottom of each leg before attaching the lower shelf. I didn’t go for legs. I made a flat base by screwing three pieces together in a “H” shape with a castor at each corner and the rest of the table built above that. Much stronger and more stable. Make sure they’re all aligned so your coffee table doesn’t wobble like a toddler taking its first steps.
Step 6: The Finishing Touches
You’ve built your coffee table – congrats! But before you start using it, it’s time to give it some finishing touches. This is where you can let your creativity run wild. You can choose to stain the wood for a classic look, paint it for a pop of colour, or leave it as is for that raw, industrial vibe.
If you want to add a glass top, measure the top of your table and get a glass piece cut to size. This not only adds a sleek, modern look but also protects the wood from spills and stains. Or, if you want a more rustic, farmhouse feel, leave the wood exposed – just be sure to give it a coat of varnish to protect it from moisture (you will spill coffee at some point, trust me).
Step 7: Admire Your Work
Step back, take a sip of your coffee (or something stronger if the build was particularly challenging), and admire your work. You’ve just built a functional, stylish, and eco-friendly piece of furniture. And the best part? You made it with your own two hands. It’s like a badge of honour, except this one holds your coffee instead of being pinned to your chest.
Bonus: Get Fancy with It
Feeling fancy? Here are a few extra ideas to take your DIY pallet coffee table to the next level:
- Add storage: Attach a basket underneath the table to hold remotes, magazines, or even snacks.
- Light it up: Install LED strip lights under the table for a cool, ambient glow. It’ll be the talk of your next Netflix binge.
- Rustic meets modern: Pair your pallet table with modern metal legs for a mixed-material masterpiece.
Other Uses of Pallets
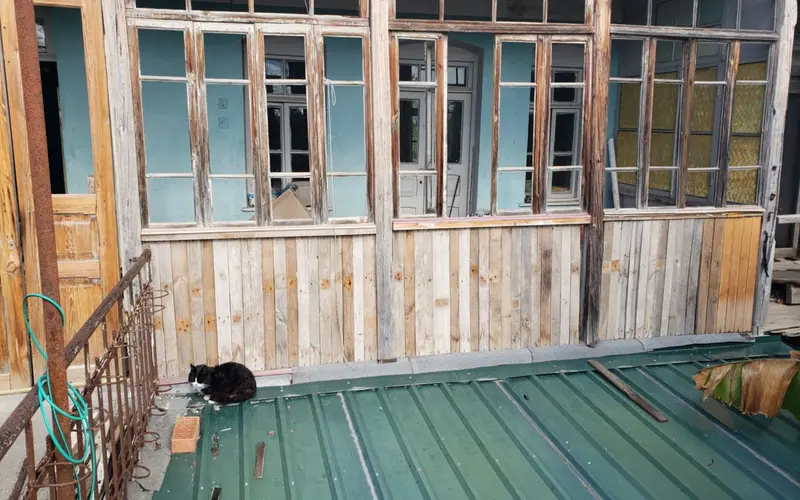
I needed to replace the woodwork on the front of my balcony and I found that pallet wood did the DIY job admirably. Yet to be painted, but the free pallet wood has saved me a lot of cash
Pallet Master in the Making
There you have it, a complete guide to using pallets for pallet furniture and whatever else you need. When I had my bar and small hotel, all of the furniture was made from pallets and turned out very well indeed, often admired by customers. Whether you’re looking to spruce up your living room on a budget, or simply flex your DIY muscles, this project is a great way to dip your toes into the world of pallet furniture.
Just remember, the best part of DIY isn’t about perfection – it’s about creativity, resourcefulness, and having a blast along the way. And hey, if something goes wrong, just call it “artsy” and embrace the imperfections.
So, what’s next on your DIY agenda? Shelves, bed frames, or maybe a whole pallet couch? The world (or at least your living room) is your oyster!