
Install Radiators and Cosy up this winter.
To install radiators in an old house is a journey of calculations, elbow grease, and a few laughs along the way.
So, you’ve moved into a charming old house—creaky floorboards, antique charm, and a heating system that last worked when Queen Victoria was on the throne. No worries! We’re here to help you bring your heating game into the 21st century and install radiators to a modern standard. Let’s dive into everything from picking the right radiator size for each room to ensuring your gas-fired boiler can handle the load.
Table of Contents
Step 1: Measure Your Space (Because Size Matters)
When it comes to radiators, one size does not fit all. You’ll need to calculate how much heat each room requires to stay cosy. This is measured in BTUs (British Thermal Units). Don’t worry—there’s no need for a degree in thermodynamics to figure this out. Here’s a simple formula:
- Measure the room’s dimensions (length, width, height) in meters.
- Multiply these together to find the cubic volume.
- Factor in:
- How many windows and doors are in the room?
- Whether the room has insulation (or is about as well-sealed as a sieve).
- For the room’s use, bathrooms need more heat, for instance.
For an old, poorly insulated house, you’ll need approximately 50–70 BTUs per cubic foot of room volume.
Tools You’ll Need:
- A measuring tape (because guesswork won’t keep you warm)
- A BTU calculator (online tools make this a breeze)
- Pen and paper (or your smartphone, because it’s 2024)
Step 2: Choose the Right Radiators for Each Room
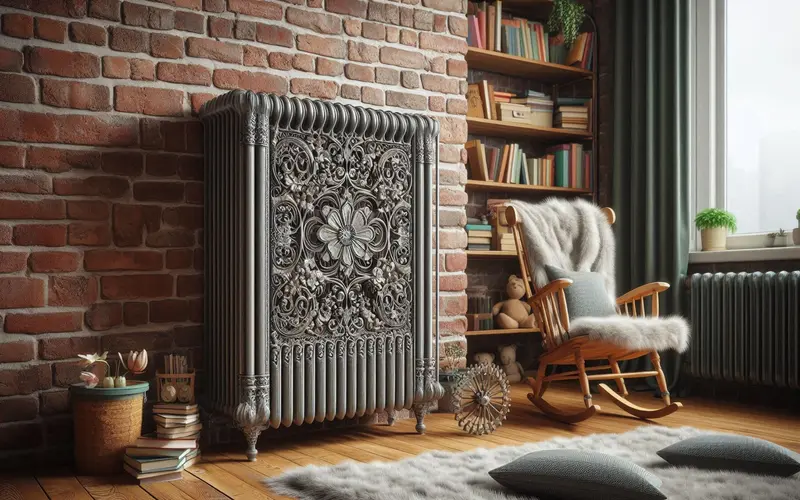
Once you know the BTU requirements, it’s time to pick radiators that match the vibe of your old house while also delivering the right amount of heat.
Radiator Types to Consider:
- Column Radiators: These have a classic look that fits seamlessly into old homes. Plus, they pack a punch in the heat department.
- Panel Radiators: Sleek, efficient, and easy to install, though they might feel too modern for some vintage aesthetics.
- Towel Radiators: Perfect for bathrooms, keeping your towels toasty and adding charm.
When in doubt, round up your radiator BTU capacity. It’s better to have a radiator that’s slightly oversized than one that leaves you shivering.
Pro Tip: Radiators work best when placed under windows or on external walls, as this combats heat loss.
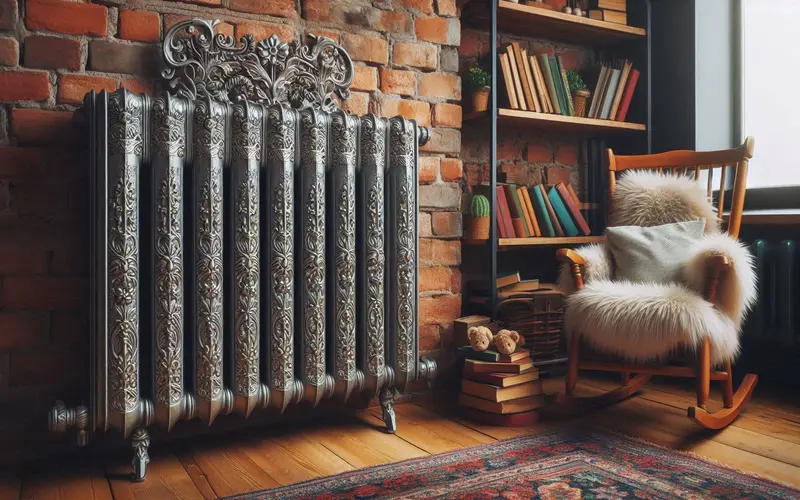
Step 3: Size Your Boiler (Because It’s the Heart of the System)
Your gas-fired boiler must be capable of supplying enough heat to power all the radiators in the house. This is where we up the ante—calculating the total BTUs needed for the entire property.
Boiler Sizing Formula:
- Add up the BTU requirements of all the radiators.
- Factor in additional heating needs (like hot water for showers and taps).
- Multiply by 1.2 to account for heat loss and inefficiencies.

For example, if your radiators collectively require 60,000 BTUs, a boiler rated for around 72,000 BTUs would be ideal. Modern condensing boilers are super-efficient, making them a great choice for old homes.
Step 4: Lay the Pipes (Literally)
In an old house, the pipework can be a mix of materials, from ancient iron to 1980s copper. Depending on the state of your existing pipes, you may need to replace them entirely.
Types of Pipes:
- Copper Pipes: The gold standard for modern heating systems—durable and easy to work with.
- Plastic Pipes (PEX): Flexible and easier to install in tight spaces, though not as traditional-looking.
Installing Pipework:
- Plan the layout so that hot water flows efficiently to all radiators. The loop system (where water flows from the boiler to each radiator in sequence) is common.
- Use pipe insulation to reduce heat loss—especially in unheated areas like basements.
Pro Tip: Label the pipes as you go. Trust us; the future will thank you when you troubleshoot at midnight.
Step 5: Install Radiators
Radiator installation for beginners
Finally, it’s time to get those radiators on the wall! Here’s a quick step-by-step:
- Mark the Position: Use a spirit level to ensure your radiator brackets are perfectly horizontal. No one likes a wonky radiator.
- Fix the Brackets: Drill holes and secure the brackets firmly to the wall. For old, crumbly plaster, use heavy-duty wall plugs.
- Hang the Radiator: Attach the radiator to the brackets and connect it to the pipework using valves.
Pro Tip: Leave a gap of about 10-12 cm between the radiator and the floor for optimal air circulation.
Step 6: Bleed and Test the System
Before you call it a day, you need to bleed the radiators and test the entire system.
Bleeding Radiators:
- Use a radiator key to open the bleed valve slightly.
- Wait for air to escape (you’ll hear a hiss) and close the valve as soon as water starts to appear.
Testing the System:
Fire up the boiler and check each radiator to ensure it’s heating evenly. Adjust the valves as needed to balance the system.
Tips for Old Houses: Keep the Character, Add the Heat
- Insulate, Insulate, Insulate: Radiators work best when your home isn’t leaking heat through drafty windows and doors. Consider secondary glazing and underfloor insulation to boost efficiency.
- Retro Meets Modern: Look for thermostatic radiator valves (TRVs) that let you control individual room temperatures while maintaining the house’s charm.
SEO keywords: heating solutions for old homes, draft-proofing old houses, efficient heating systems for period properties.
Warmth with a Side of Charm
Installing radiators in an old house is like giving your home a cosy blanket while keeping its historical charm intact. With proper planning, the right tools, and a bit of elbow grease, you’ll have a system that’s both functional and fabulous.
So, grab your tools, put on your DIY hat, and turn that frosty old house into a toasty haven. And remember: when in doubt, consult a professional—especially if gas or major plumbing is involved. Safety first, folks!