
A simple styrocrete test batch that will teach you everything you need to know.
Table of Contents
You’ve found some polystyrene.
You’ve broken it into small pieces. You’re ready for your first styrocrete test batch.
You’ve got a bag of cement sitting in the garage.
Now comes the bit that worries most people.
“What if I get it wrong?”
The good news is that you’re not pouring a garage floor today.
You’re making a small test batch that will teach you how Styrocretebehaves.
If it isn’t perfect, it doesn’t matter.
That’s exactly why we’re doing a test first.
Why Start Small?
There’s no point making enough Styrocrete to fill a shed floor until you know what it feels like to mix.
A small batch lets you:
- learn how much water it needs
- see how the cement coats the polystyrene
- understand how light the finished material is
- make mistakes without wasting materials
After one test batch, you’ll be surprised how simple the process really is.
What You’ll Need
Keep it simple.
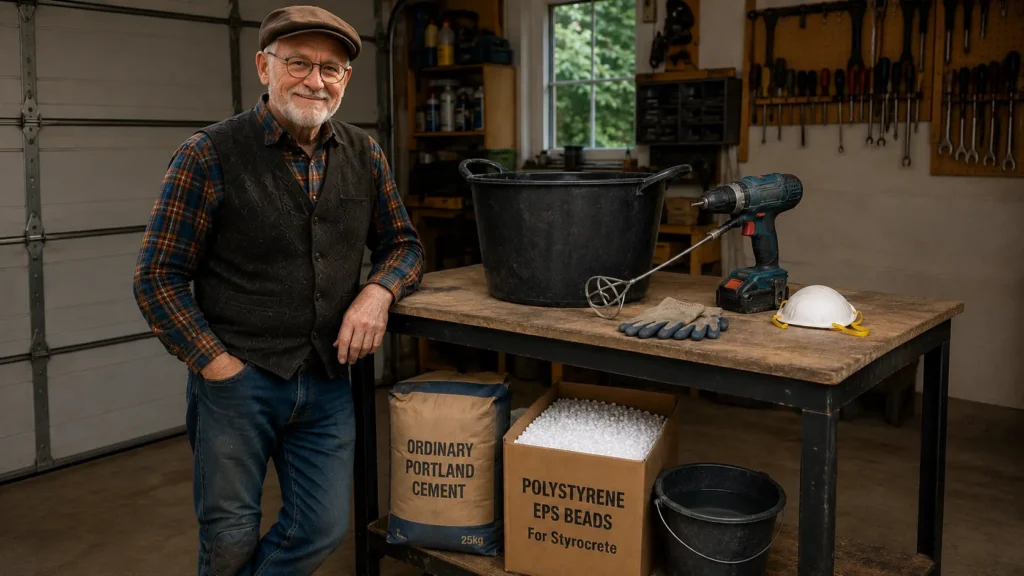
- A strong bucket or plastic storage box
- A paddle mixer and drill
- Ordinary Portland cement
- Chopped expanded polystyrene (EPS)
- Clean water
- Gloves
- Dust mask (cement dust isn’t good for your lungs)
No expensive machinery.
No specialist equipment.
Choosing a Mixing Container
Don’t use your best bucket for your styrocrete test.
The mix becomes surprisingly bulky because the polystyrene takes up so much space.
A builders’ bucket is fine for a small batch.
For larger batches, a flexible mixing tub or plastic storage box works well.
The container needs room for the material to tumble as it’s mixed.
Trying to mix in a container that’s too small usually ends up with polystyrene bouncing across the garage floor.
Your First Successful Styrocrete Test Mix
Forget cubic metres.
Forget engineering calculations.
Let’s make something that fits comfortably into a bucket.
For your first experiment you’ll need approximately:
- 10 litres of chopped EPS
- 1 litre of cement
- Water added gradually until every piece of EPS has a thin coating of cement paste
That’s enough to learn the technique without wasting materials.
Mixing
Start by putting the chopped EPS into the container.
Add the dry cement.
Mix them together before adding any water.
Once the cement has coated the polystyrene, begin adding water a little at a time while continuing to mix.
Resist the temptation to pour all the water in at once.
If it looks like porridge, you’ve added too much water.
What Should It Look Like?
The finished mix shouldn’t be runny.
Neither should it be dry and dusty.
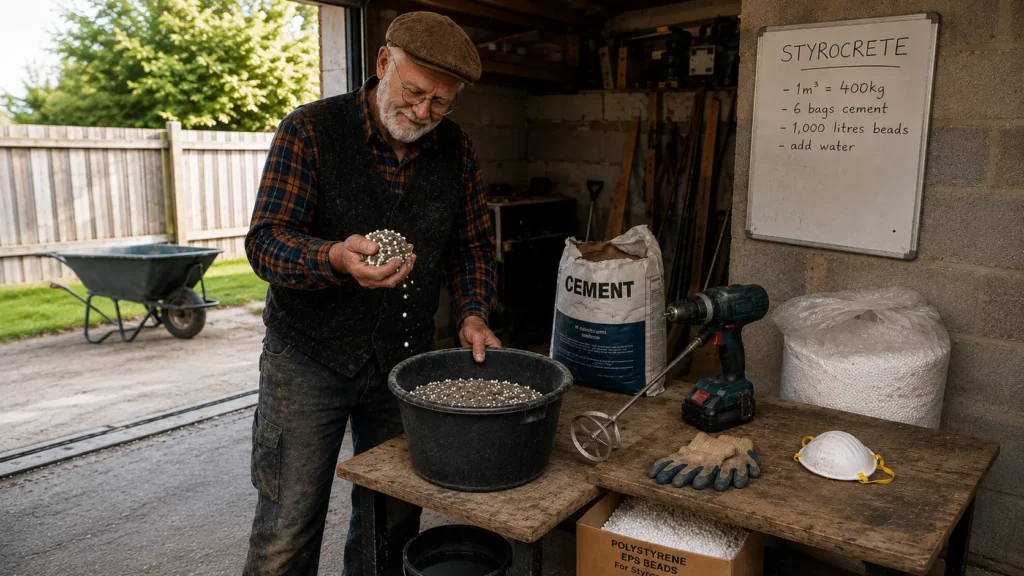
Pick up a handful. This is an easy styrocrete test.
It should hold together when squeezed gently but shouldn’t drip water.
Every bead or piece of polystyrene should have a coating of cement.
Common Beginner Mistakes
Too much water
The mixture becomes sloppy.
Leave it for a few minutes and add a little more dry material if necessary.
Too little water
The cement won’t stick properly to the EPS.
Add water gradually while mixing.
Mixing too aggressively
You don’t want to grind the polystyrene into tiny particles.
Steady mixing works better than trying to beat it into submission.
What Next?
Once you’re happy with the consistency, pour the mix into a small mould.
A cardboard box lined with plastic, an old flower pot, or a small timber mould is ideal.
Leave it to cure naturally.
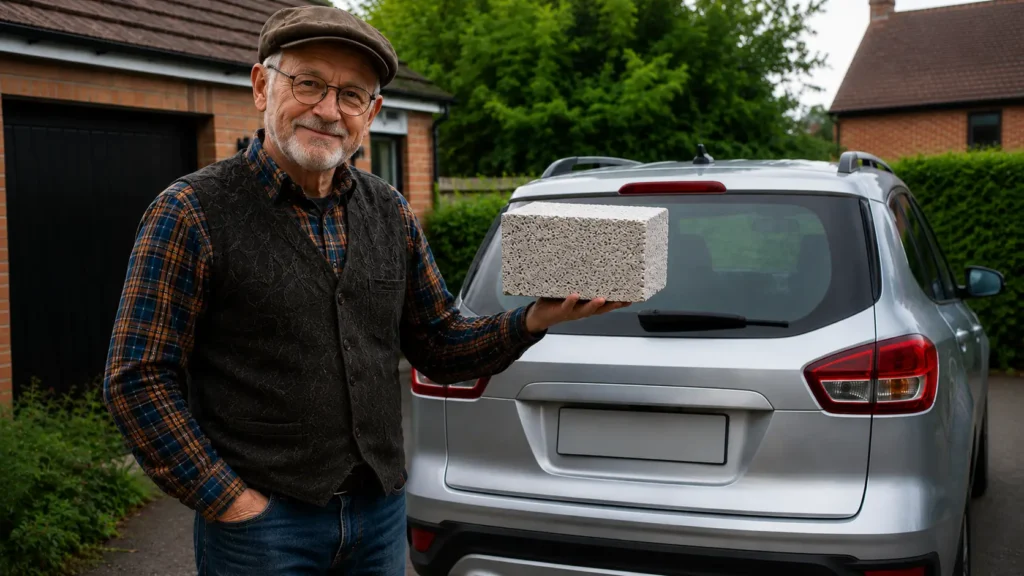
Tomorrow you’ll have your first piece of Styrocrete.
And you’ll probably pick it up with one hand and grin.
Tom’s Workshop Tip
The first batch isn’t about making something useful.
It’s about gaining confidence.
Once you’ve mixed ten litres successfully, mixing a hundred litres is exactly the same job—just with a bigger container.